Deal, contracting procedure set-up

Dennis
Last Update a year ago
Creating a deal in Trakti is simple.
Here is our walk-through video in case you don't have time to read the guide.
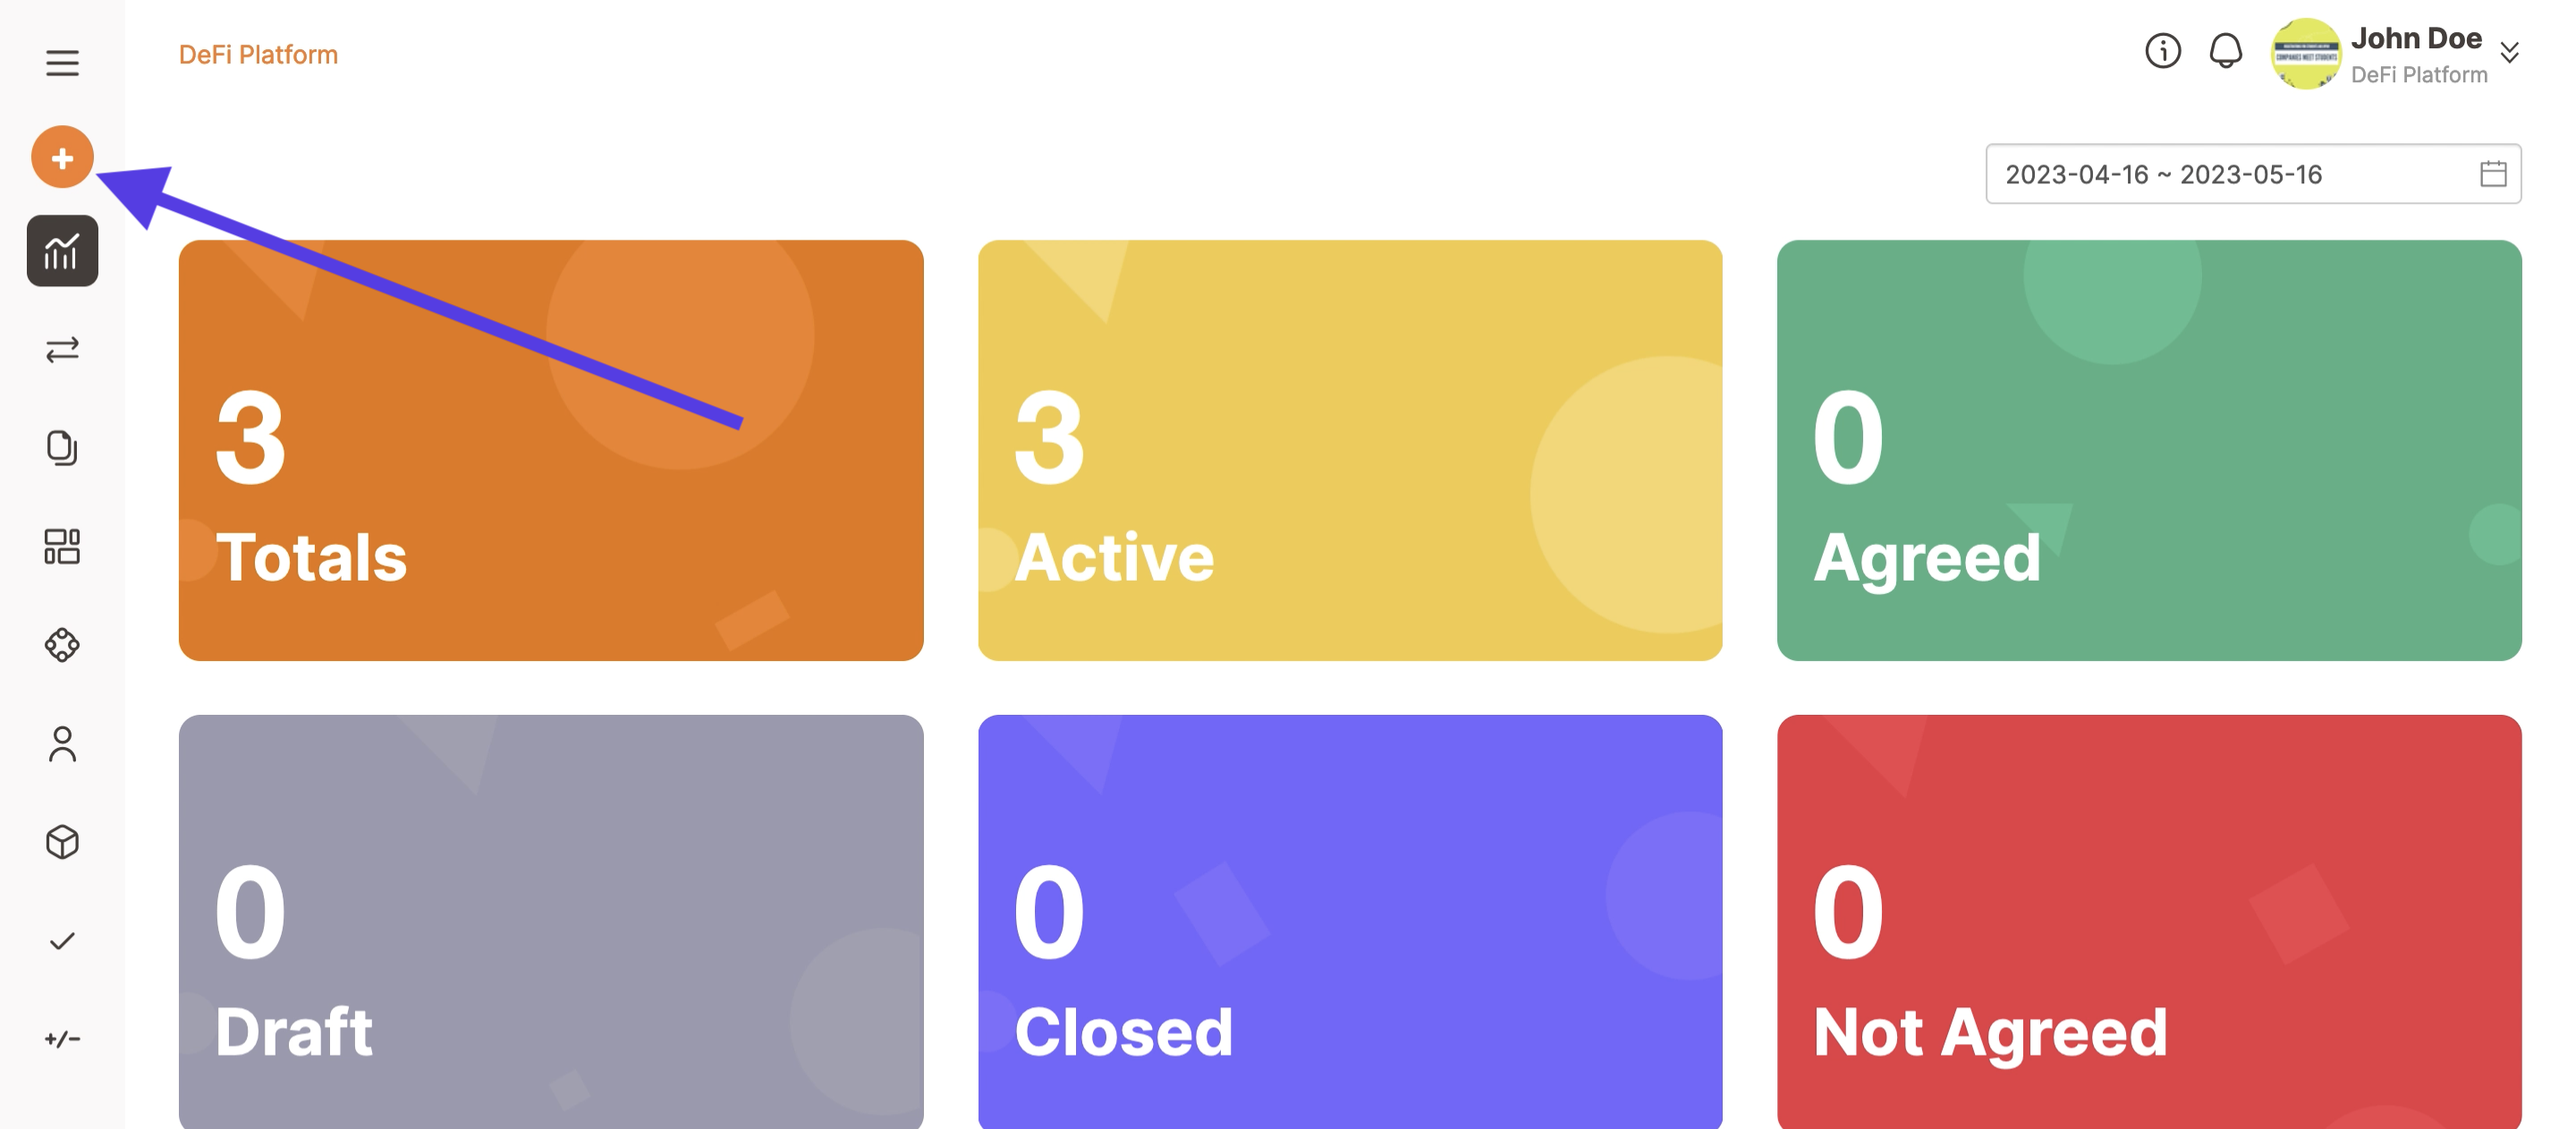
Click on My deals button in the menu on the left or on the Plus button.
On the Deal list page click on the Deal button at the top of the dropdown menu.

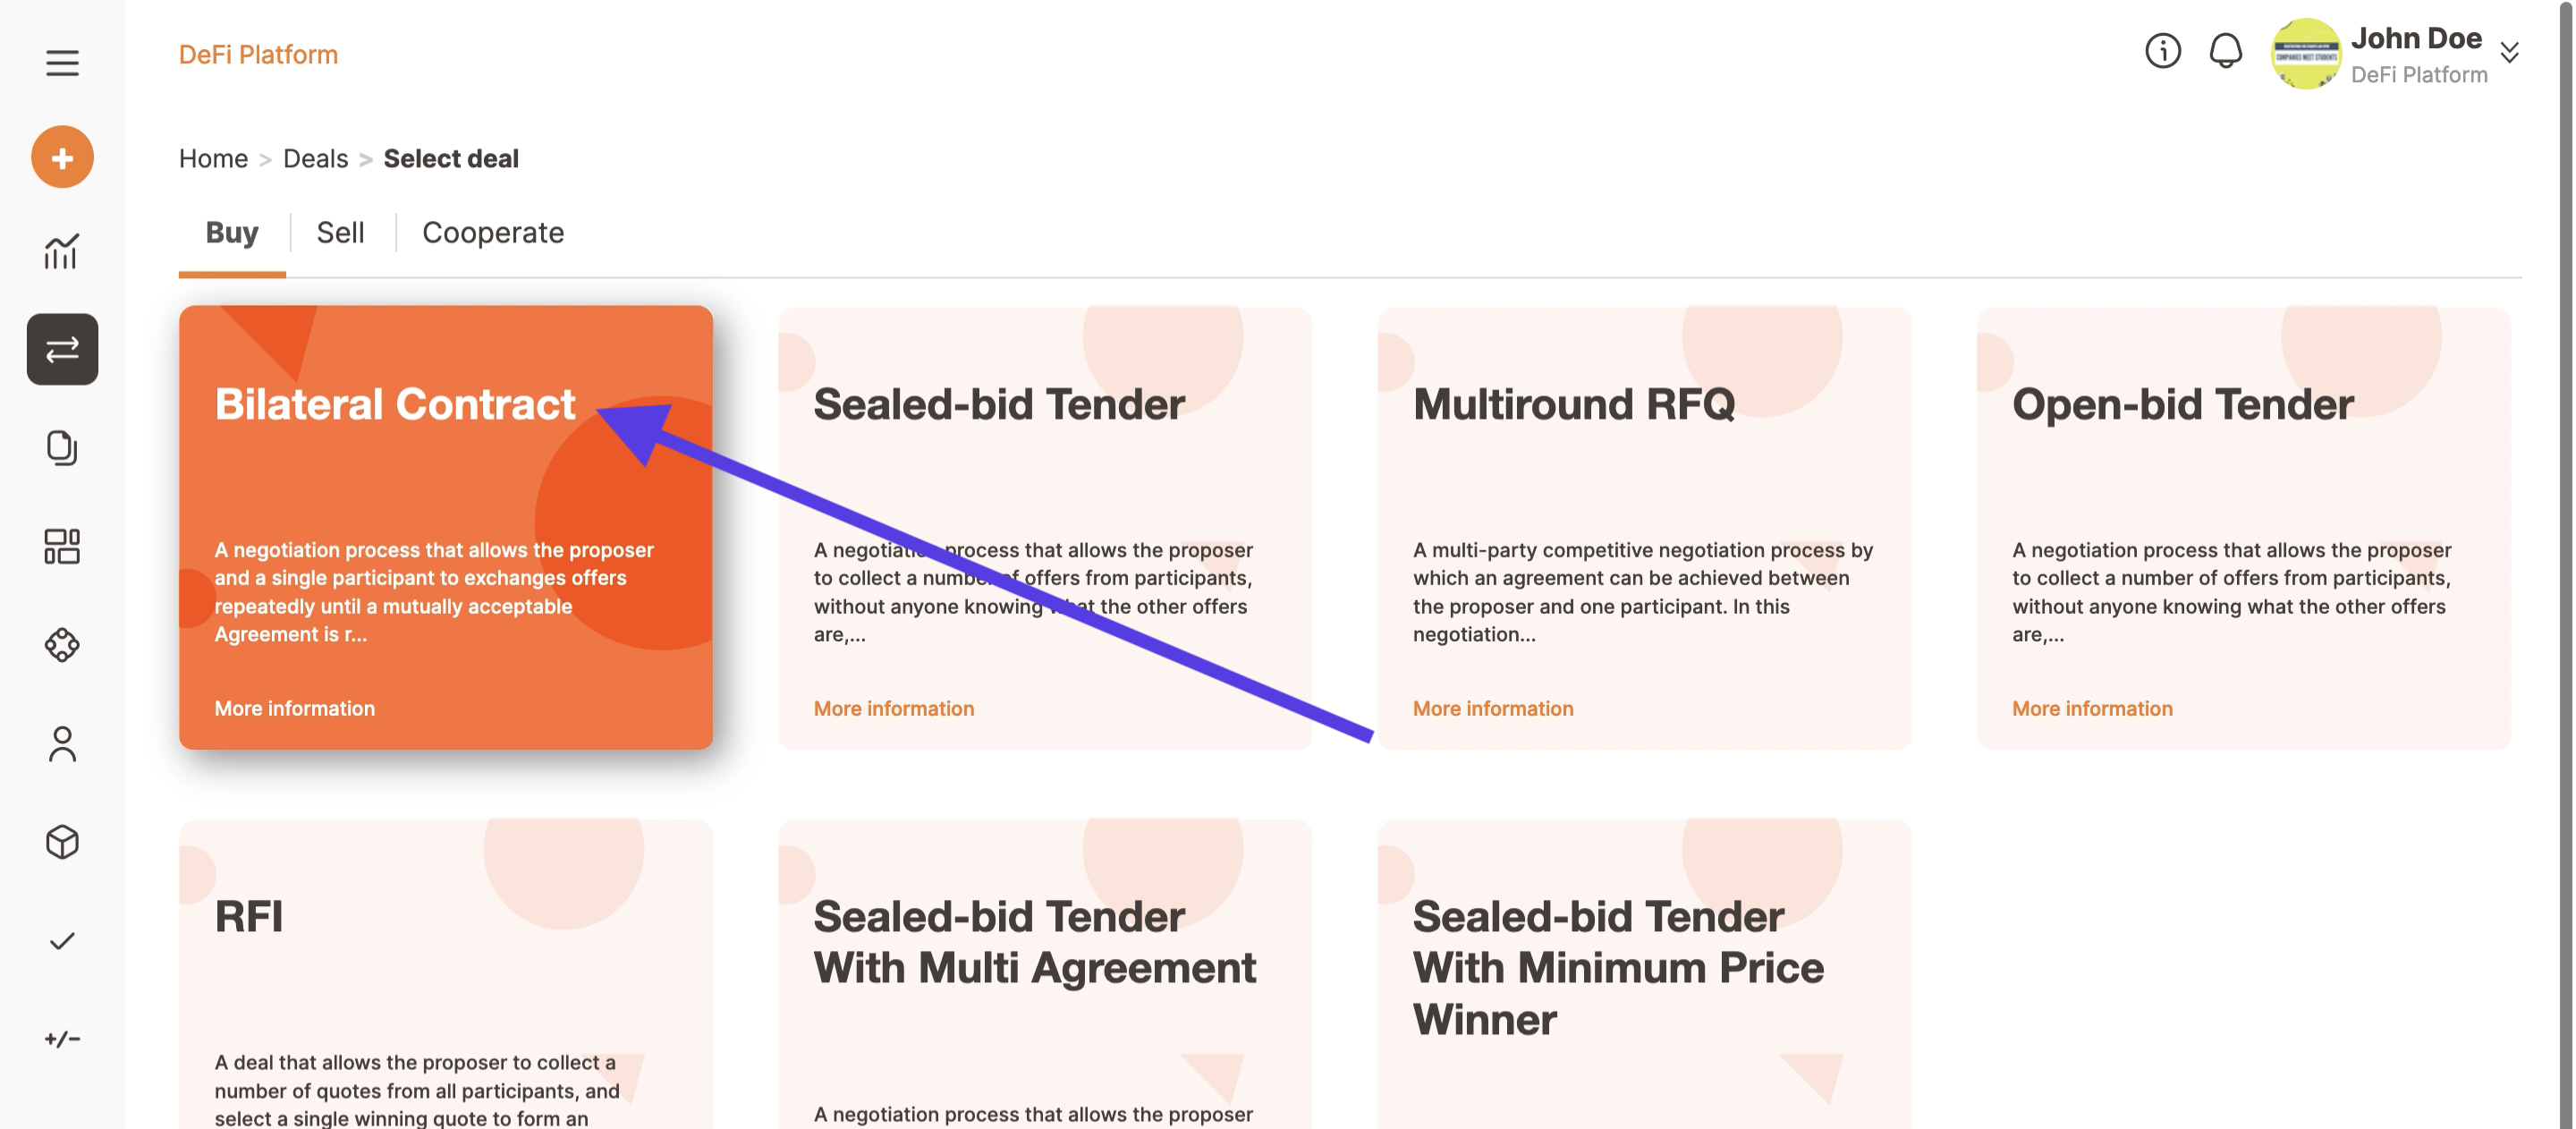
Select the type of procedure you want to activate for your deal. With Trakti you can support your buy side, sell side or even your HR unit.
Click on one of the tabs (Buy, Sell, or Cooperate) to see the processes supported and select one of them. You can have a full explanation of all the processes supported here.
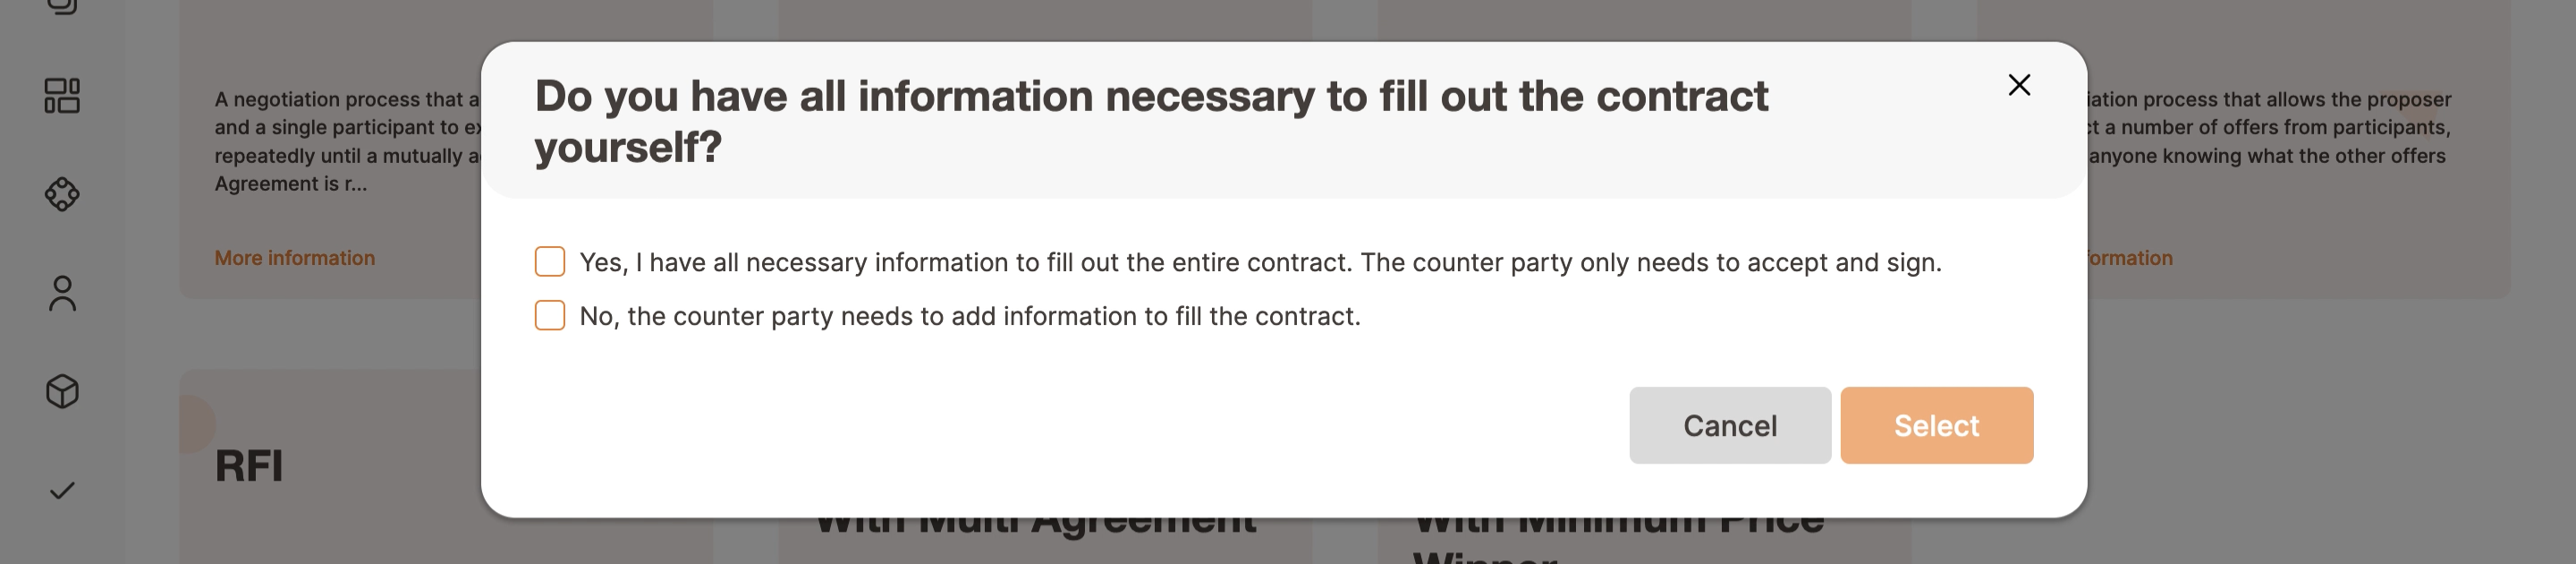
Define who is going to complete the initial offer. Choose the adequate option and click on the Select button.
Choose a Contract model that has been published by your team to use (eg. NDA, Customer onboarding, Loan etc.)
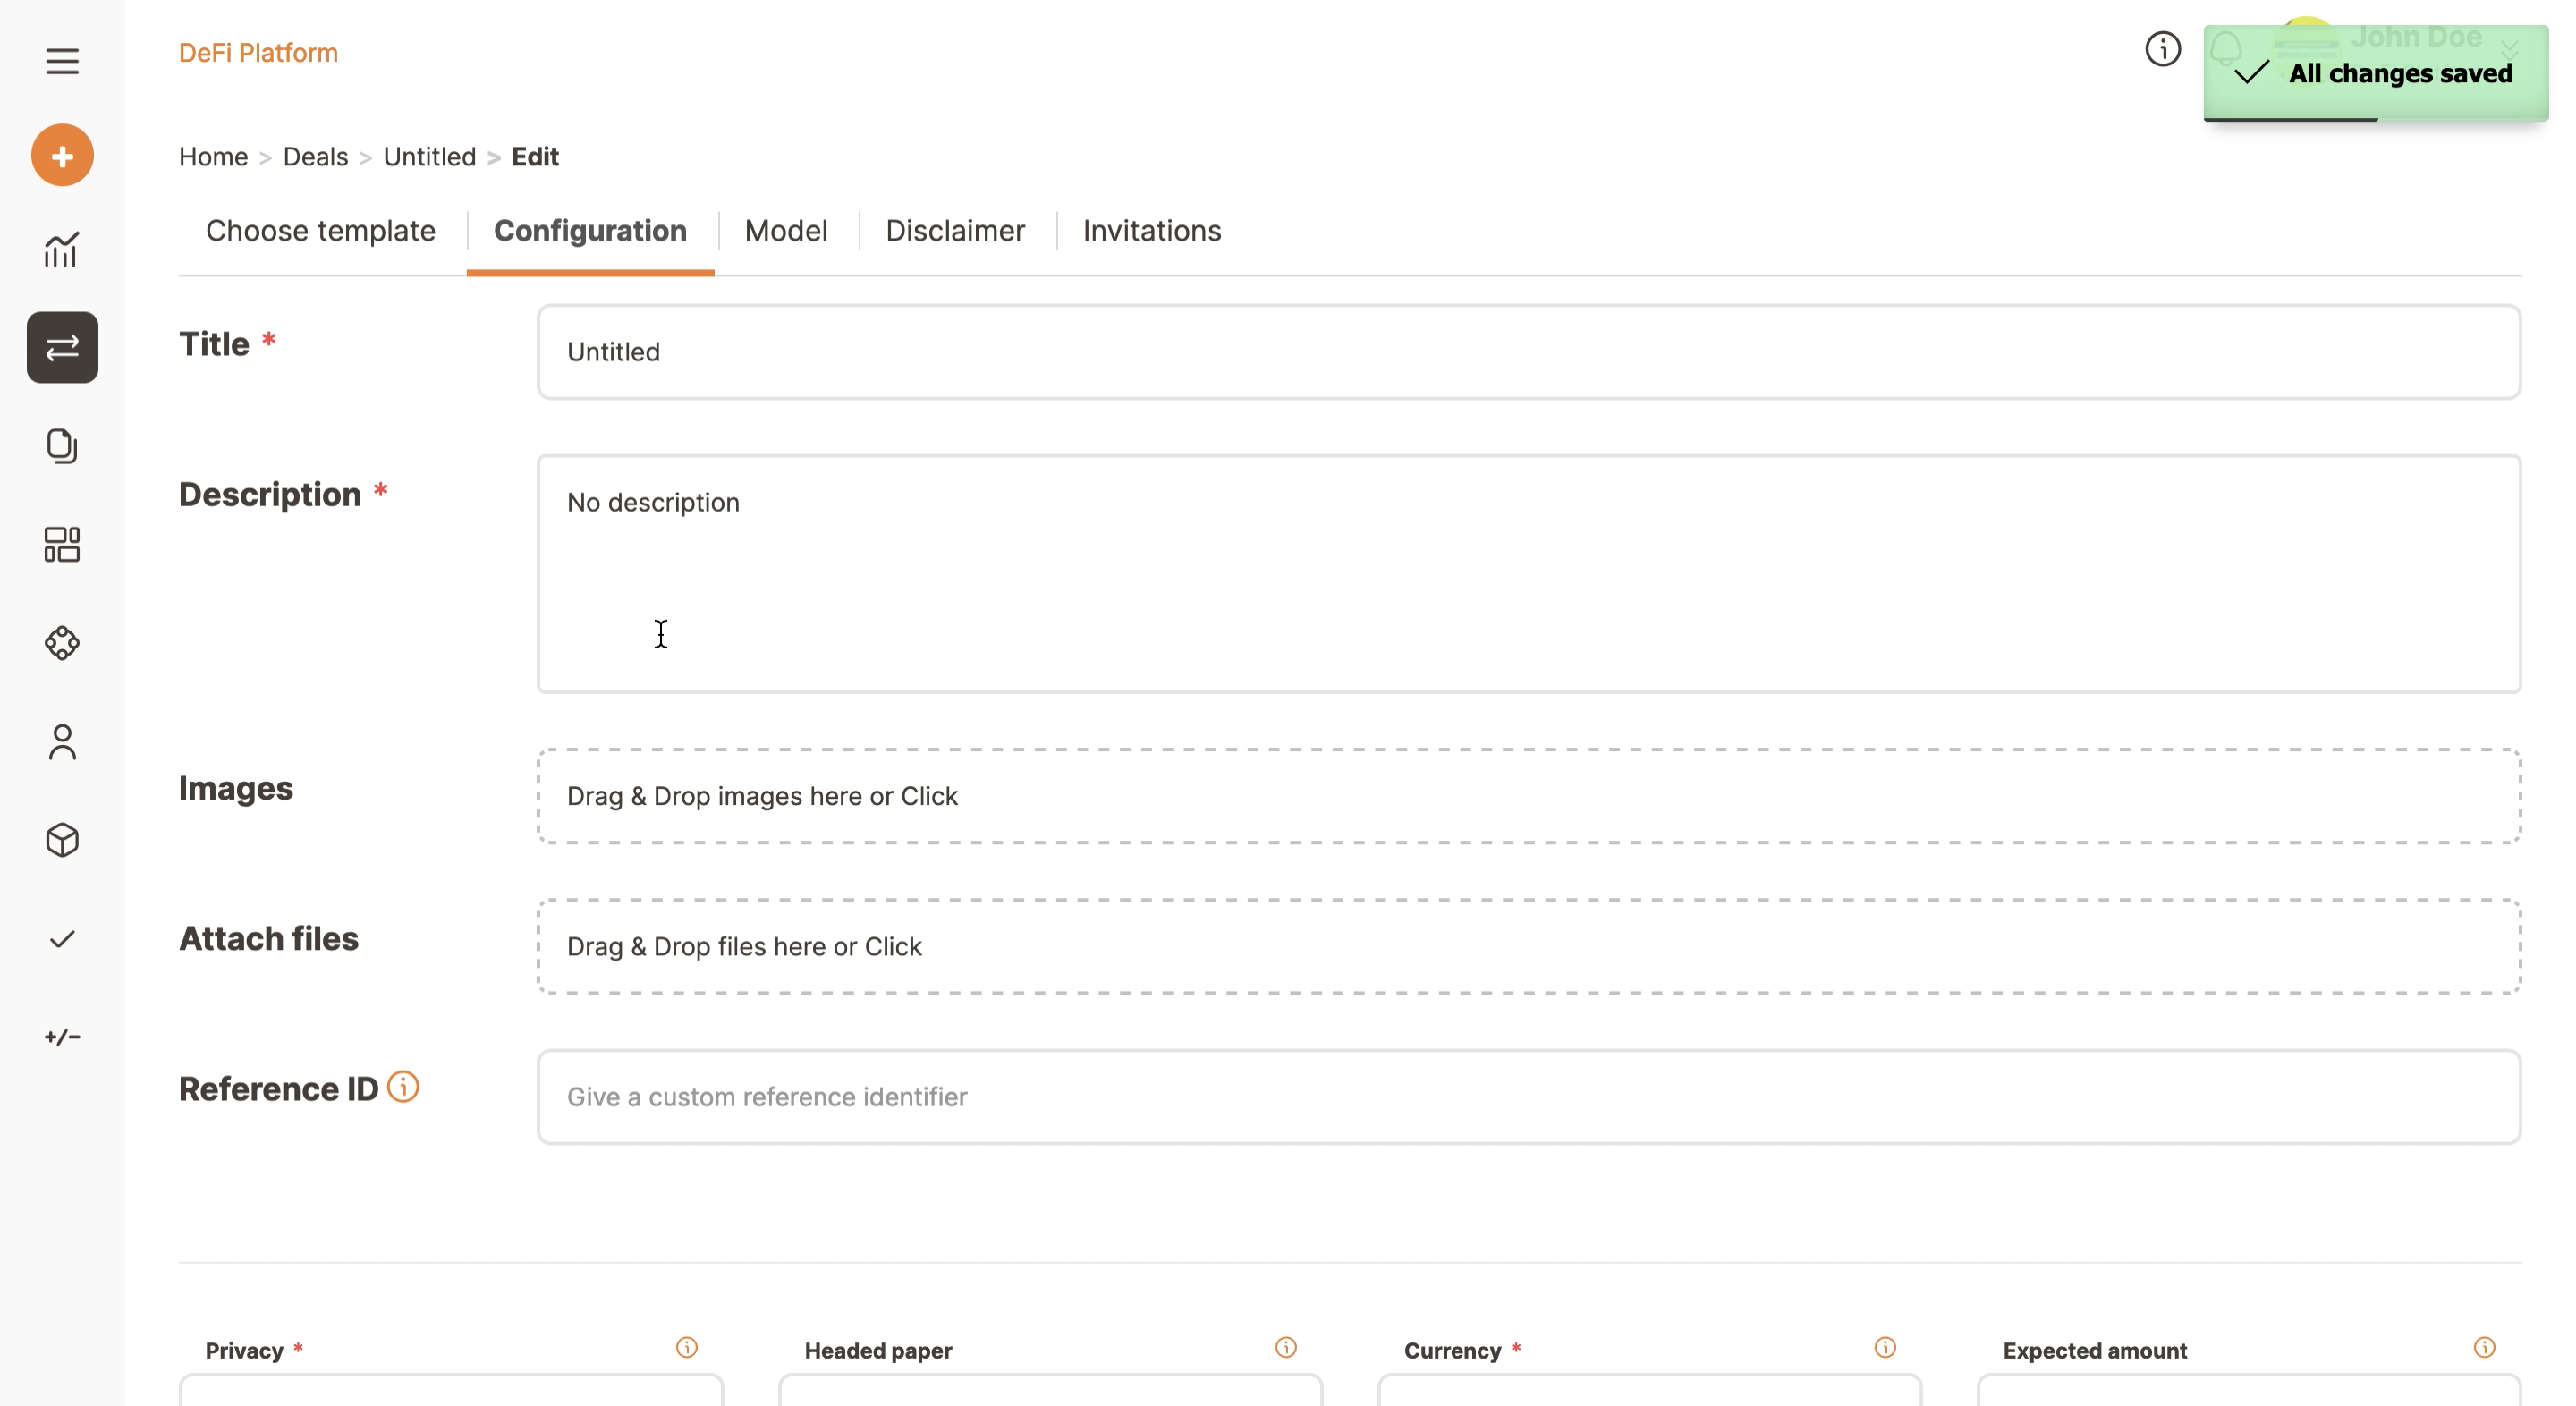
Complete the following:
- Title;
- Description;
- Attach files (optional if you want to add supporting documents for the counter party (Supplier, Client etc);
- You can select and change the language, currency, negotiation start and end date, but leave these all as the default option if there is no need to change them. Currency defaults to euro but there is a drop-down of options;
- You can select your Headed paper;
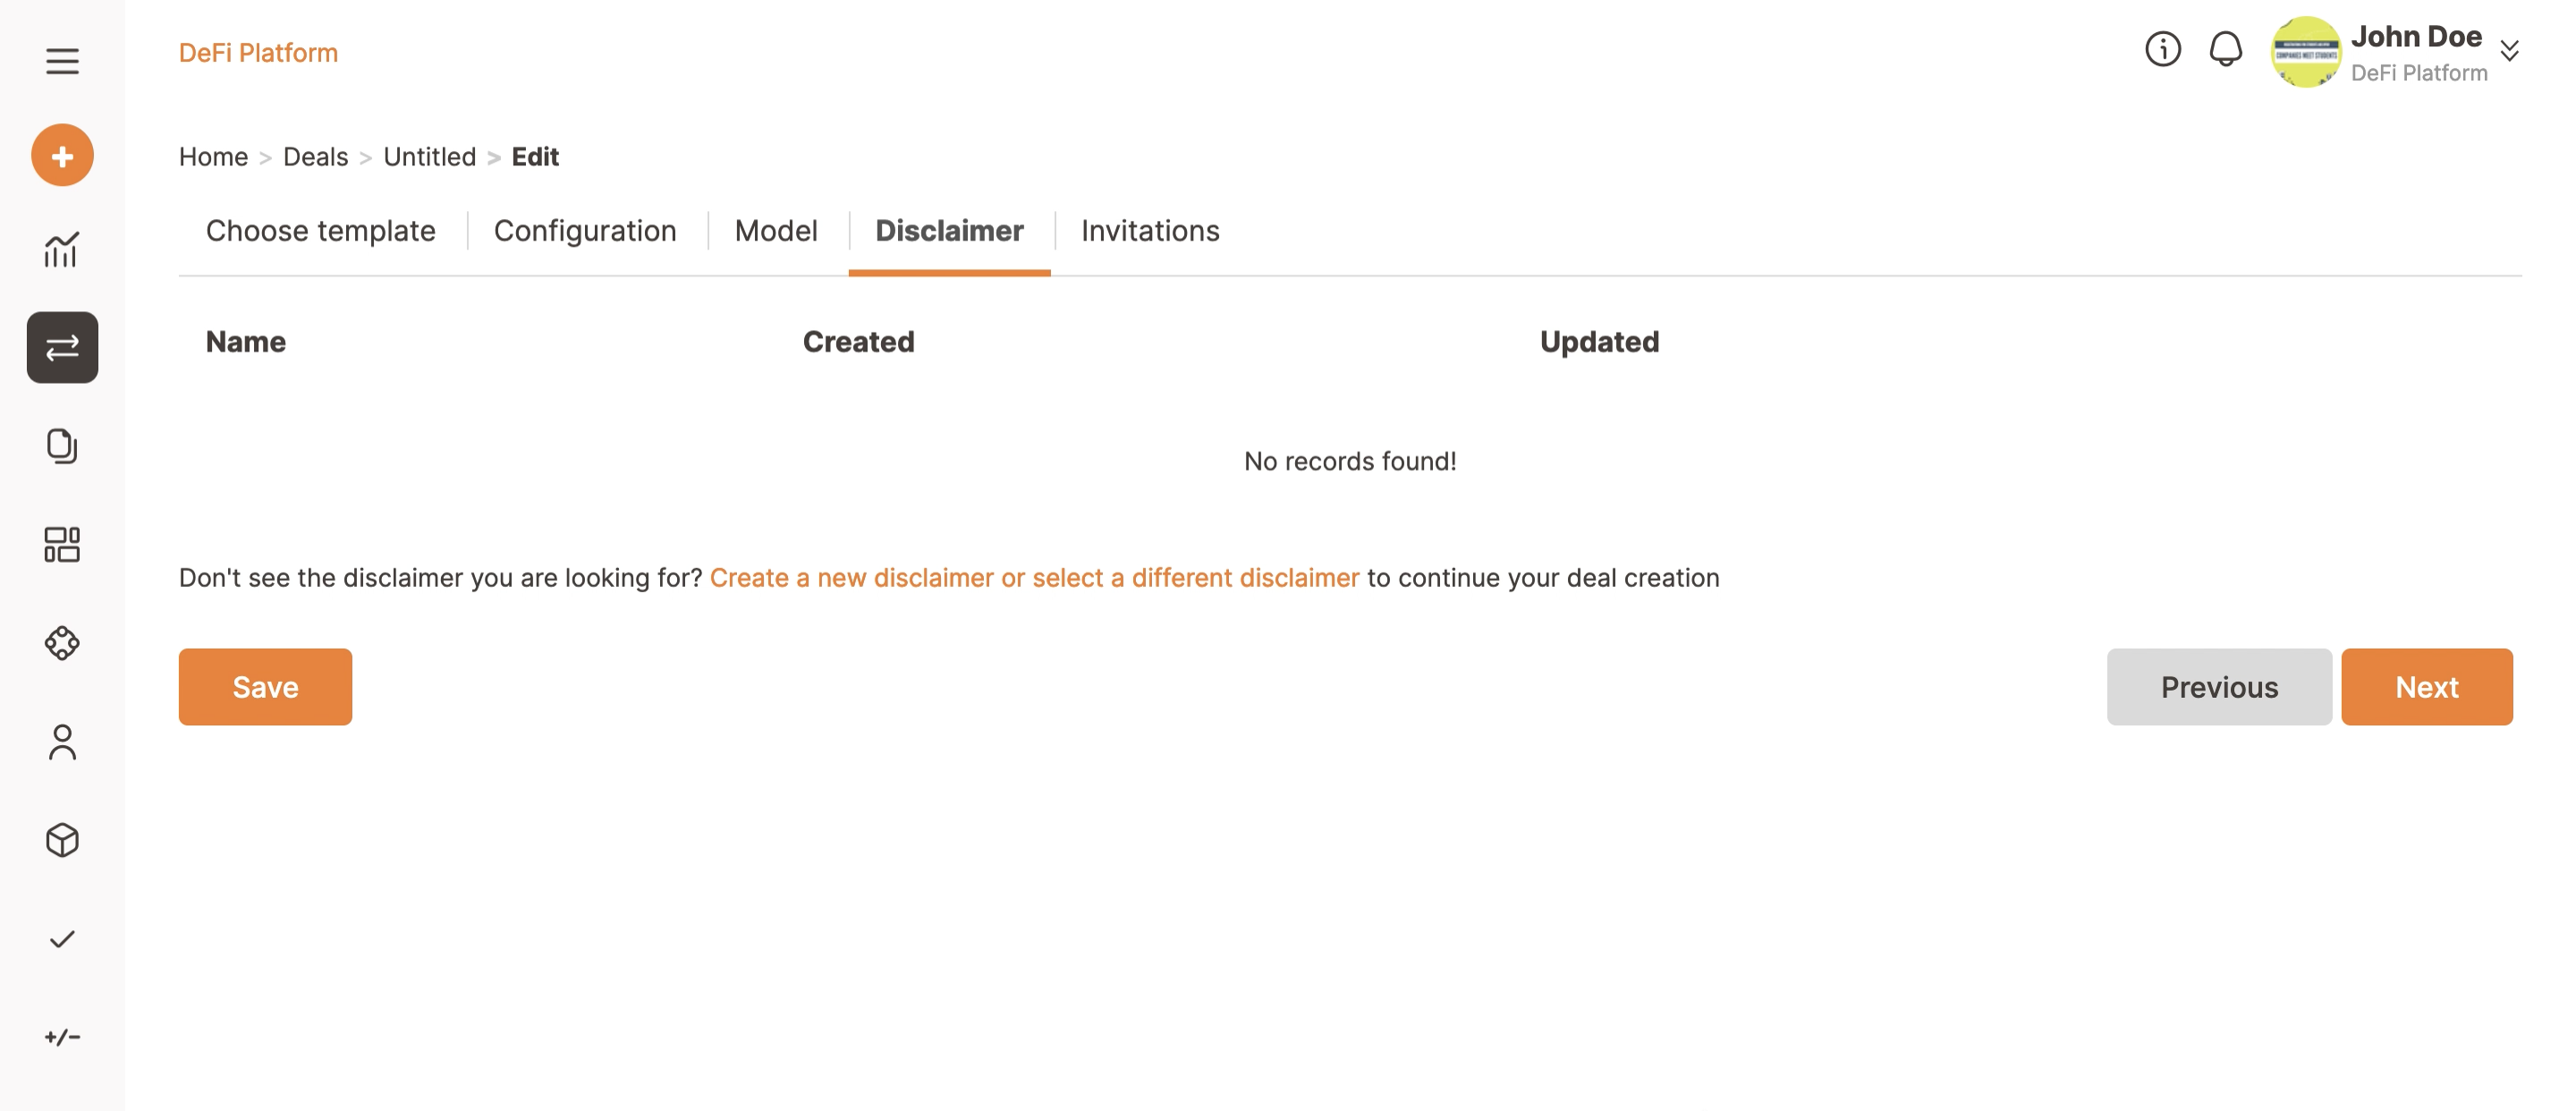
- You can also select if during the negotiation you want to activate some Reviewer. Click here for more details;
- Corporate profiles can also notarize the agreement in blockchain;
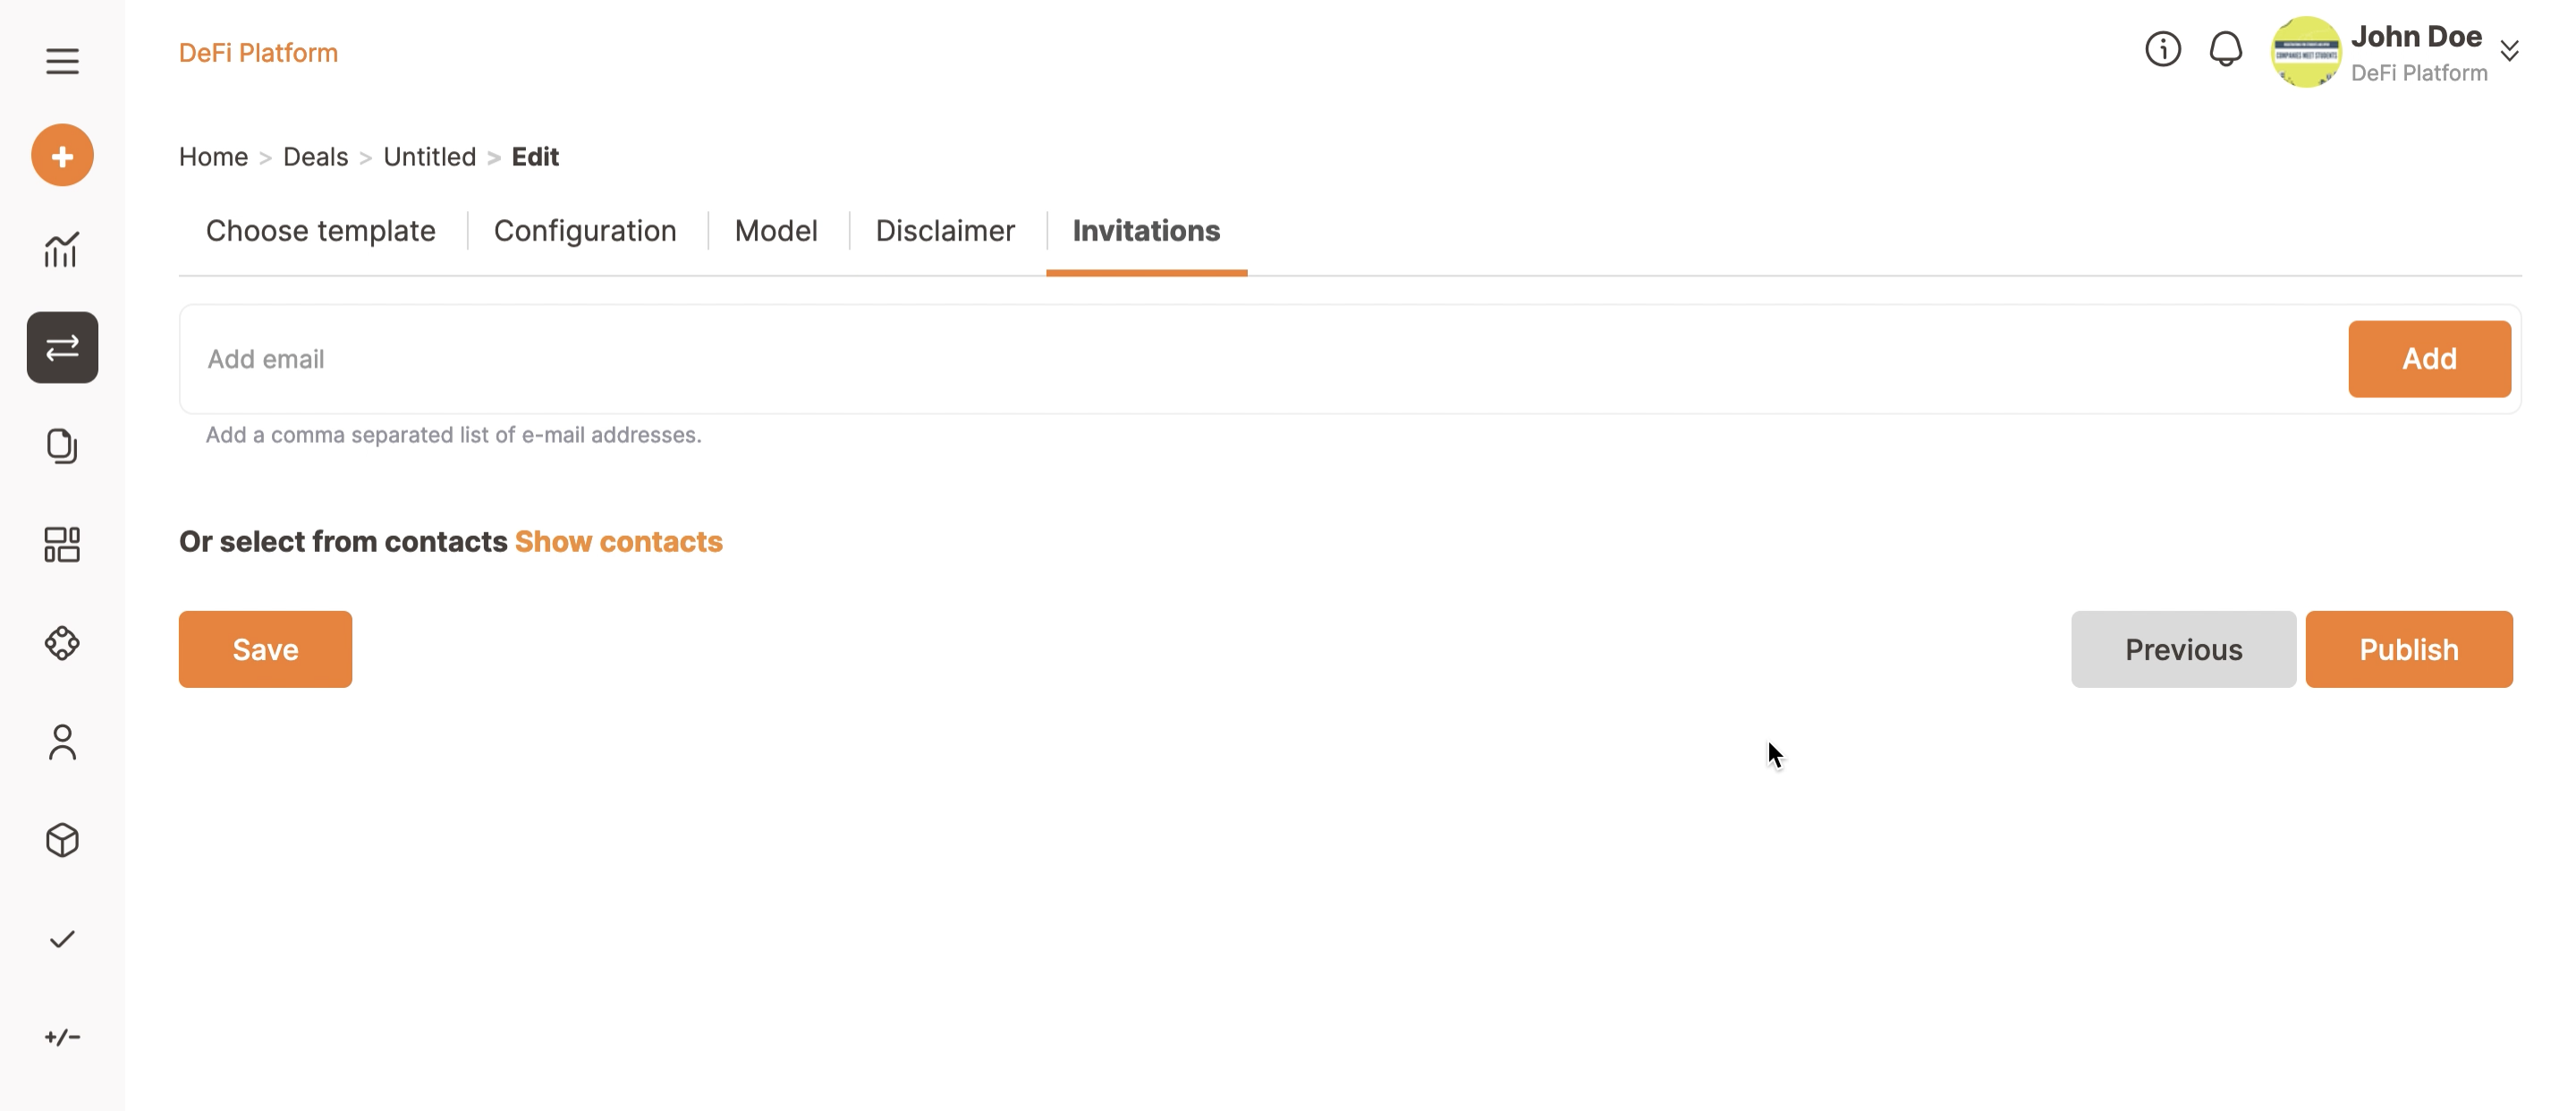
Click Next in the far right corner to move forward with the deal's configuration.
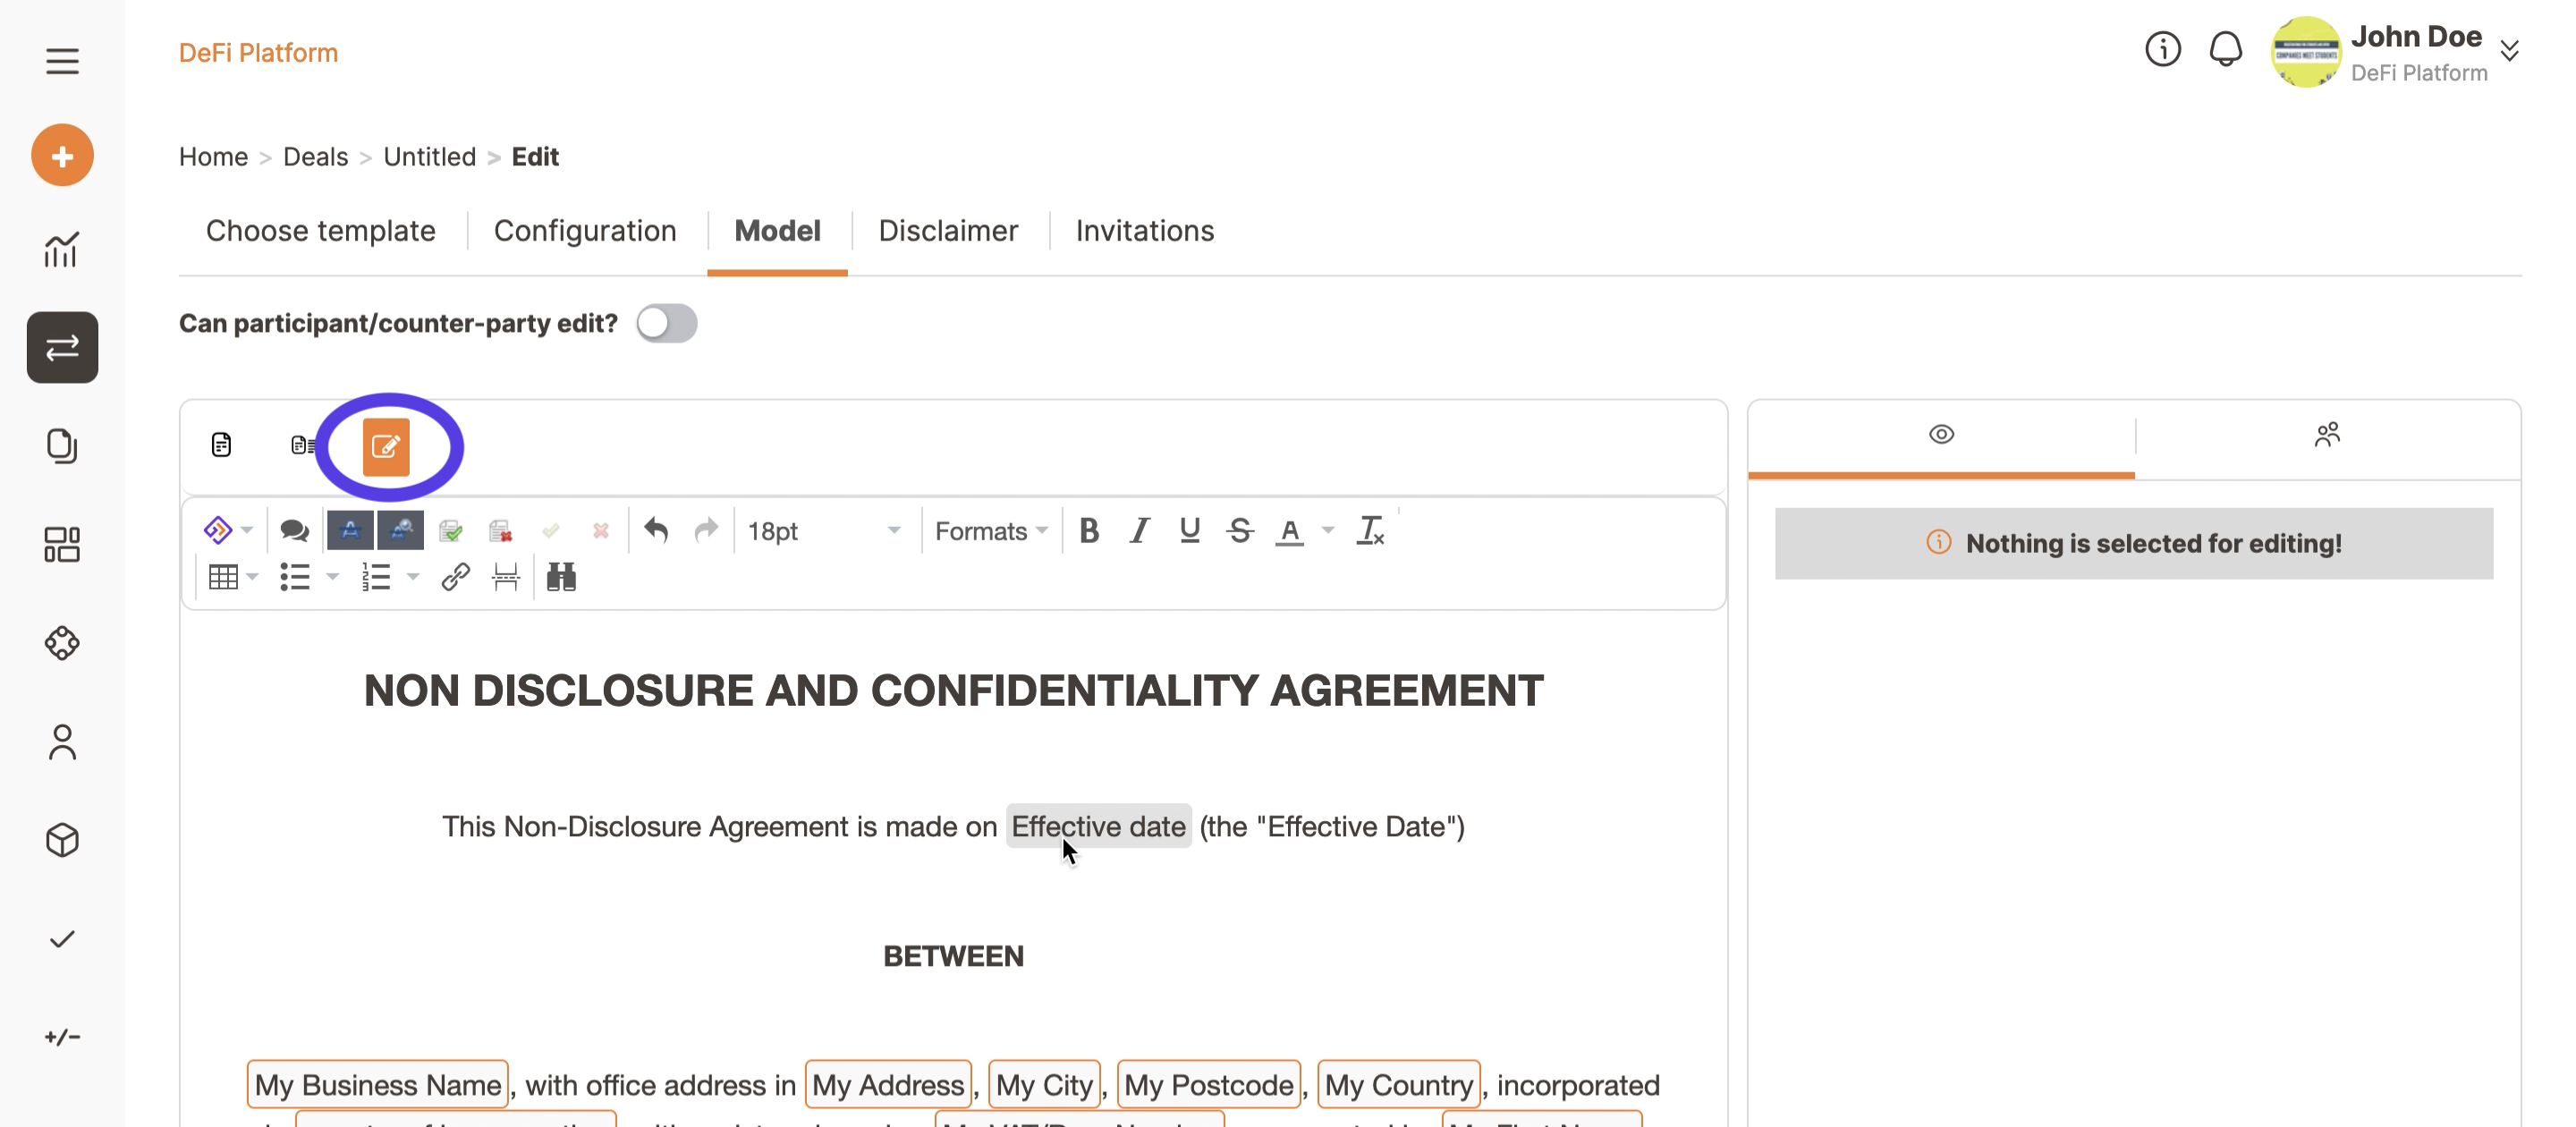
In the template customisation phase you can:
- decide if you allow Editing (select or deselect the Editing):
- Disable Editing if you only want the counter party to complete the negotiable fields
- Enable Editing if you the counter party to make changes also on the legal prose, text or structure.
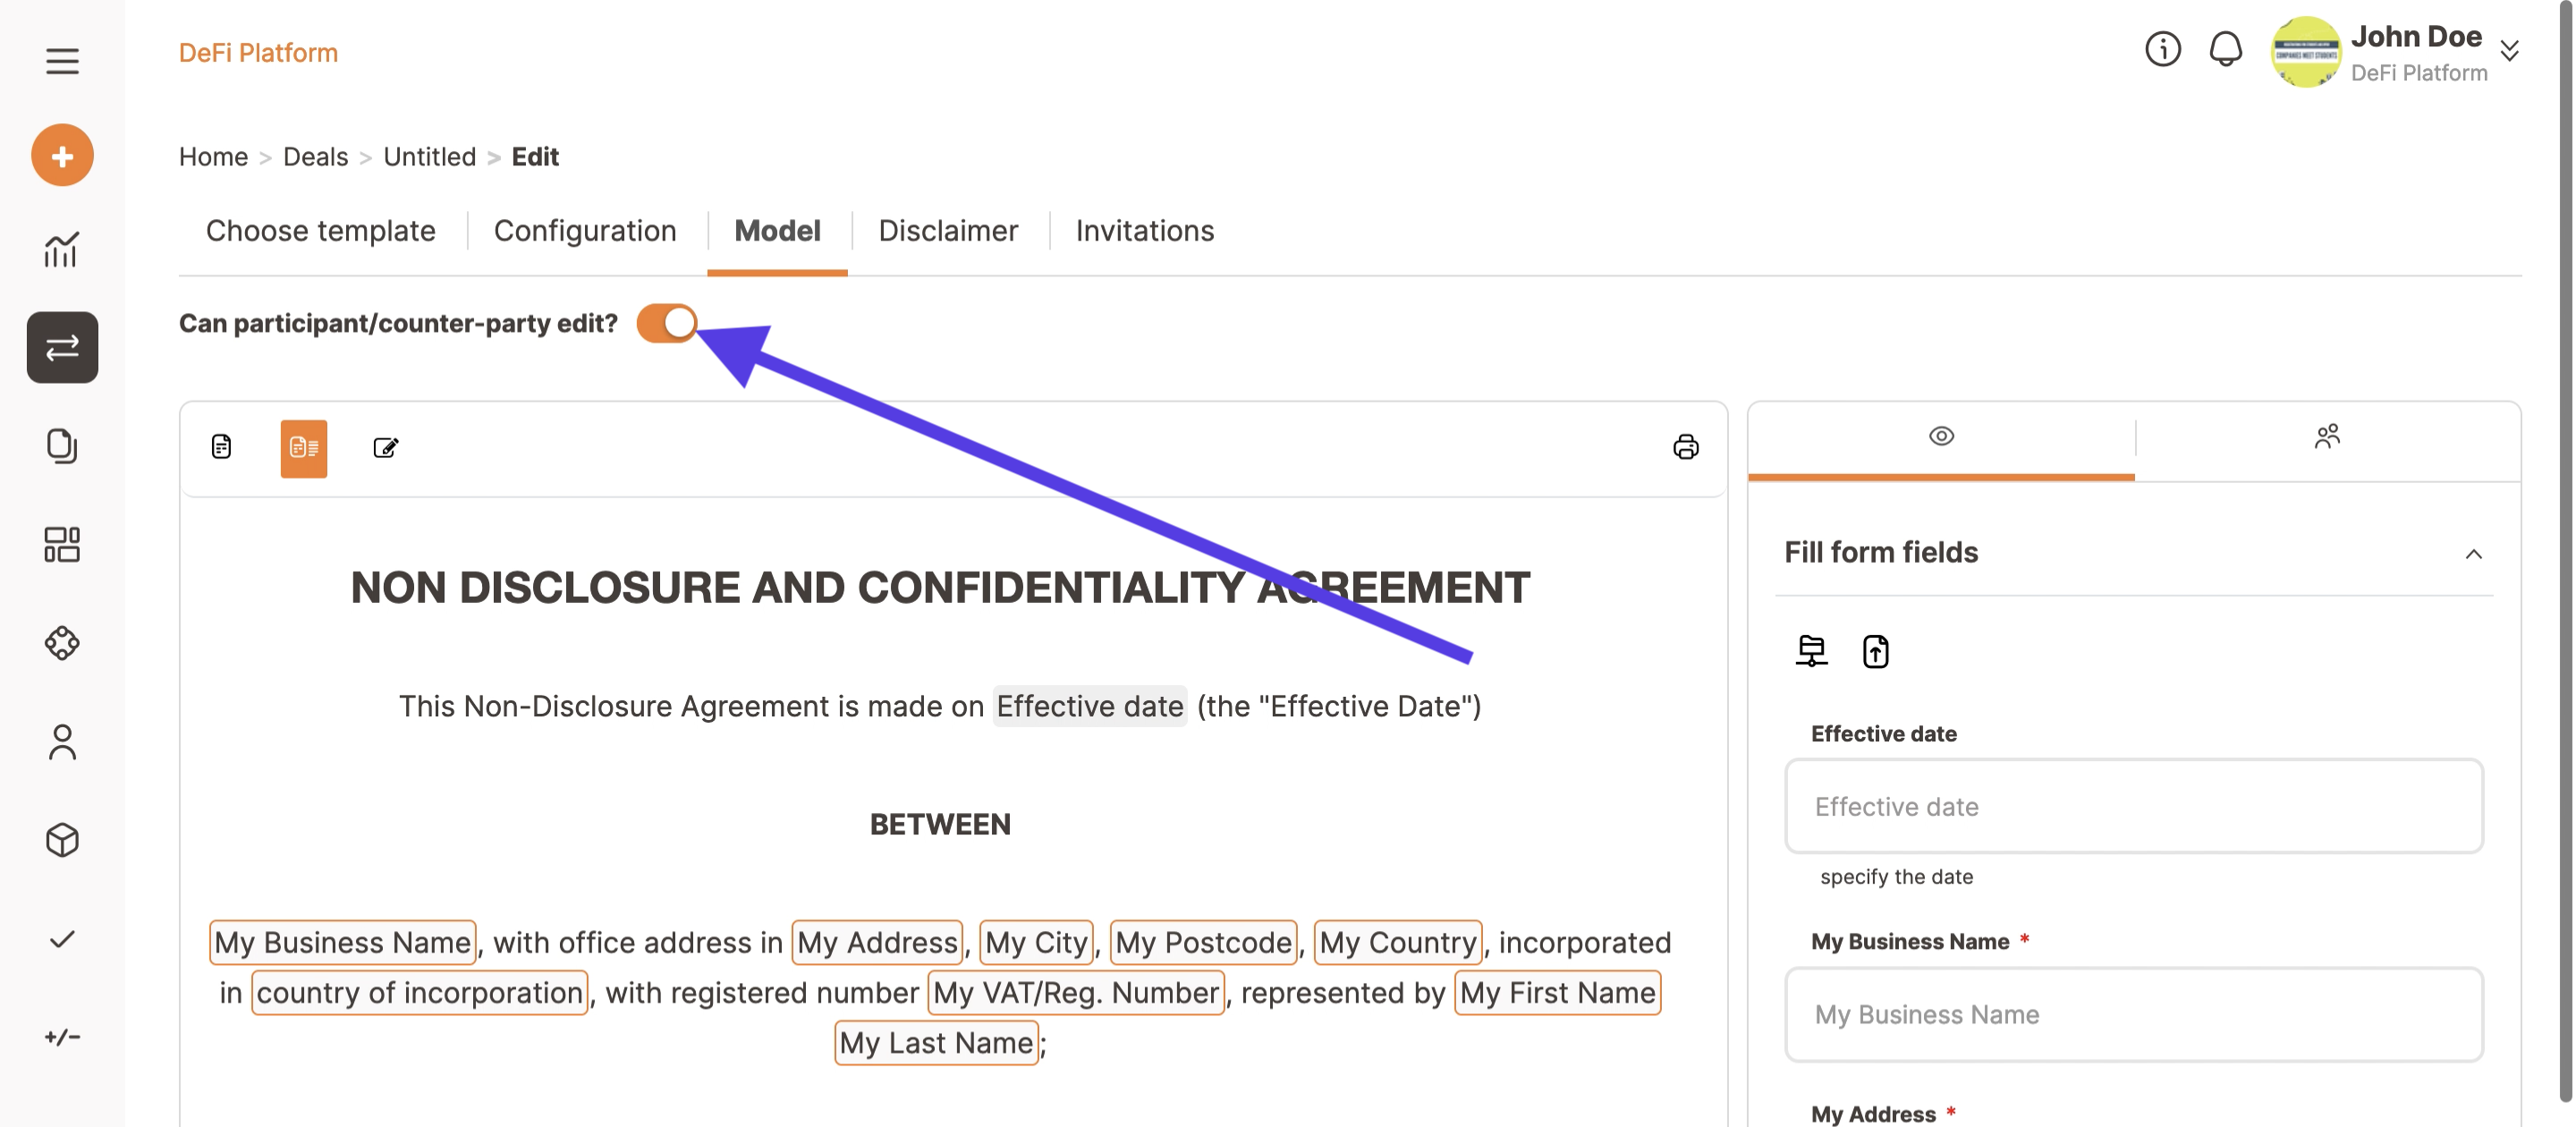
Of course, since you are making a change to the company-approved model you will be asked to authorise changes in a later stage.
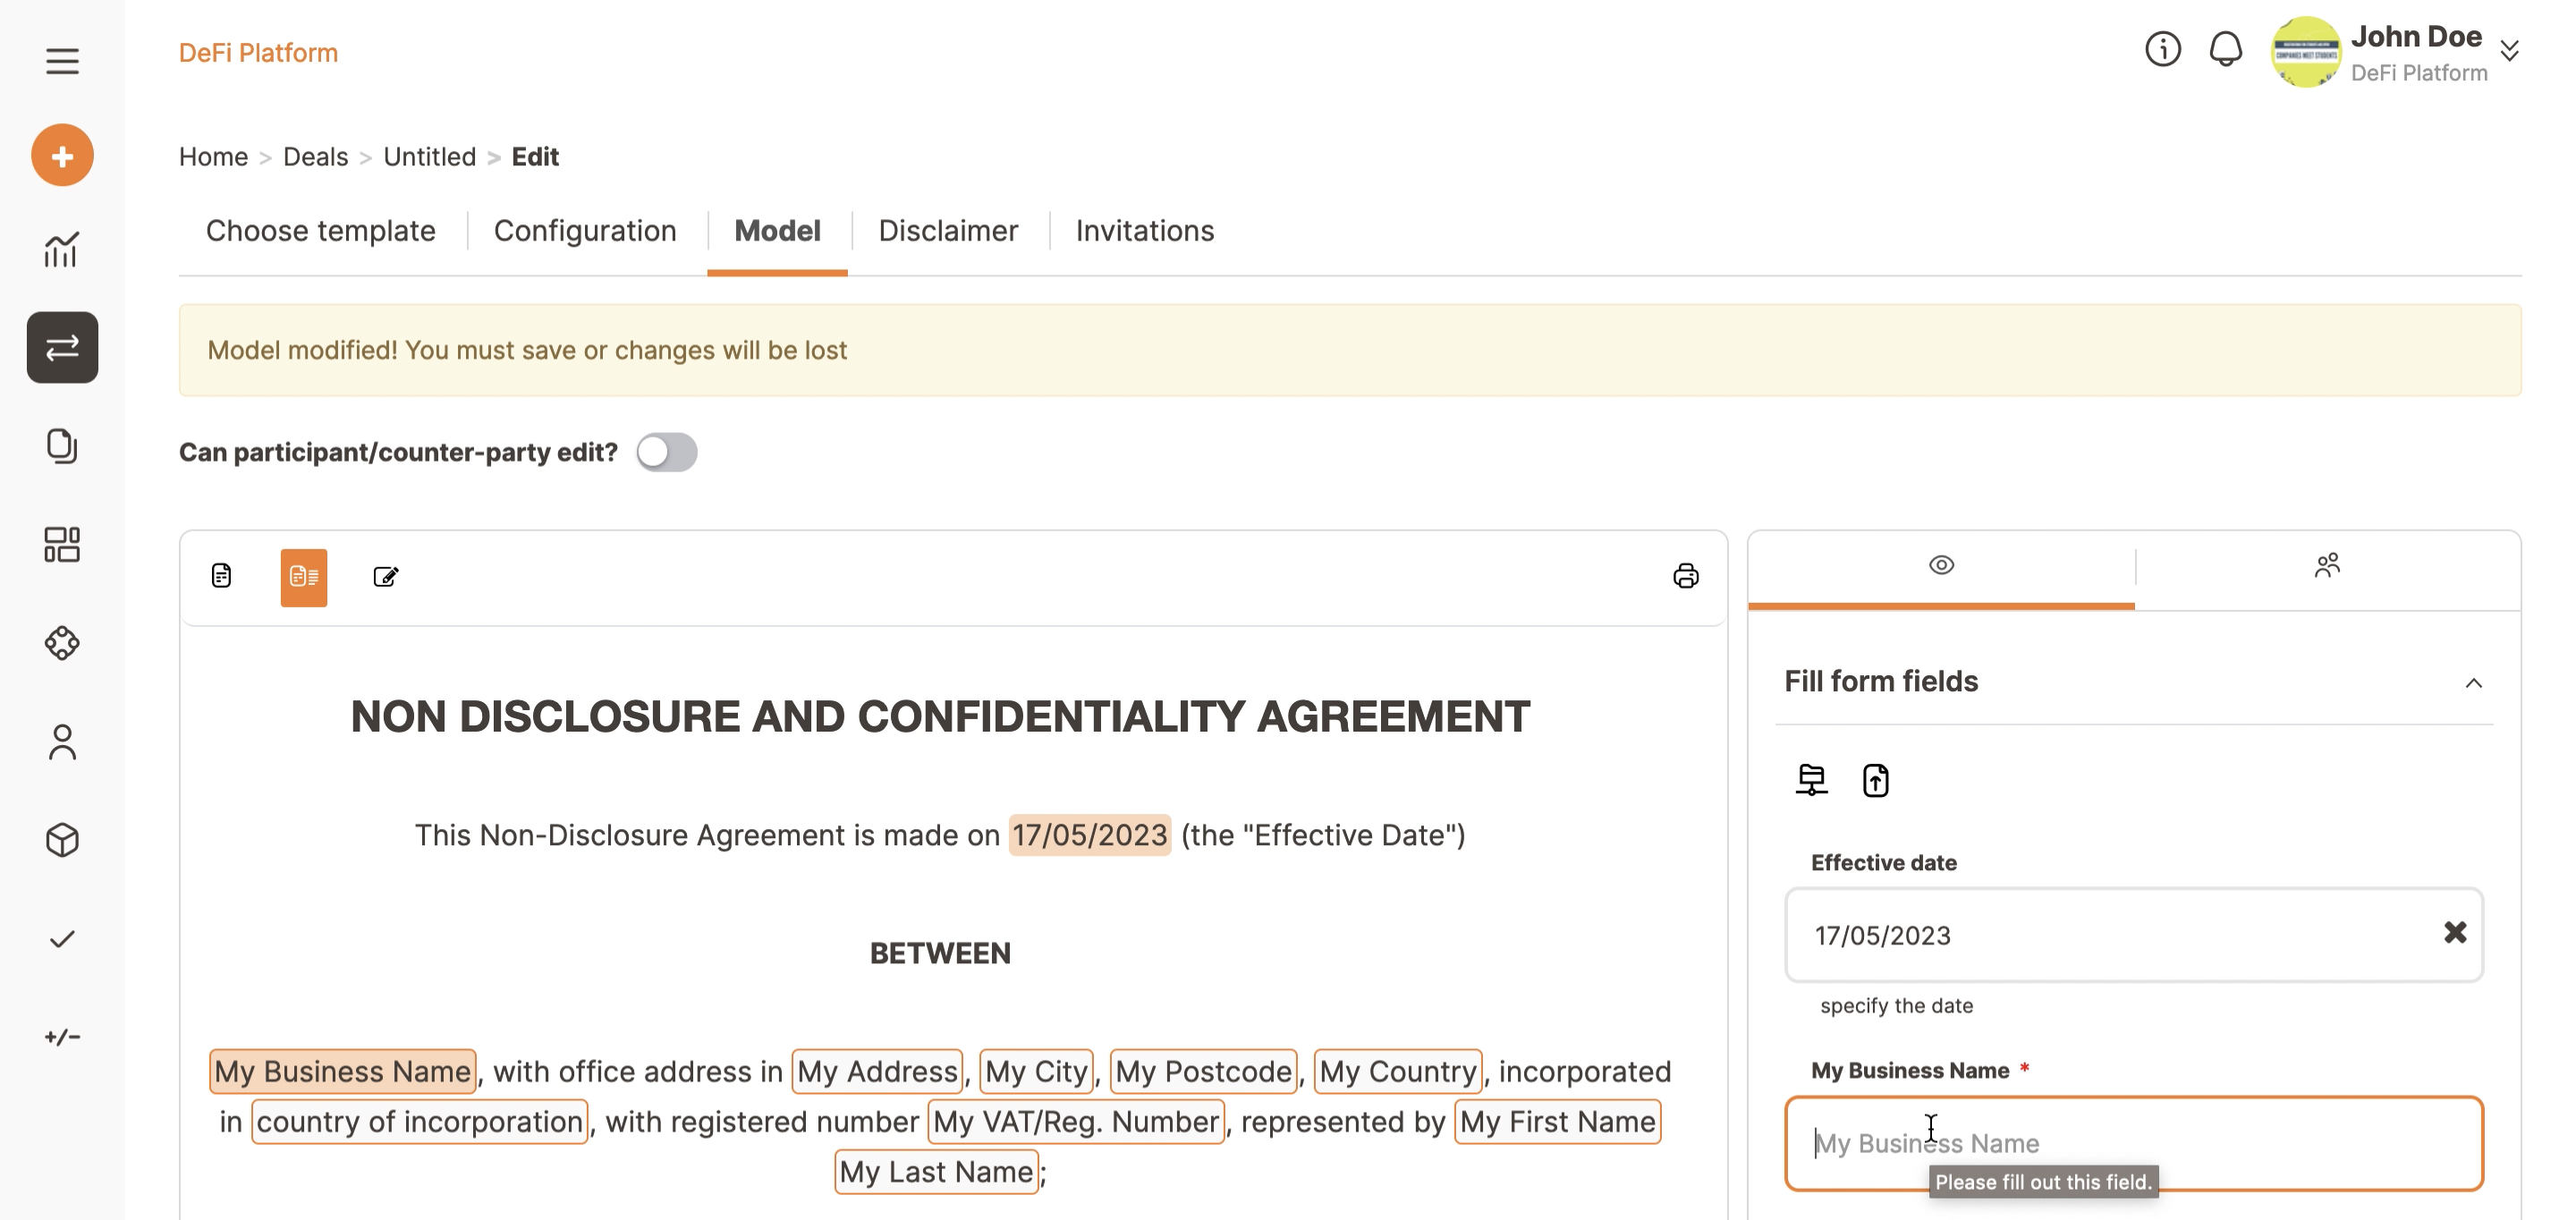
Now you can fill the template variables that are assigned to you (orange boxes) and you can also propose an initial value for some or all the variables in charge of your counterparty/ies (negotiable variables).
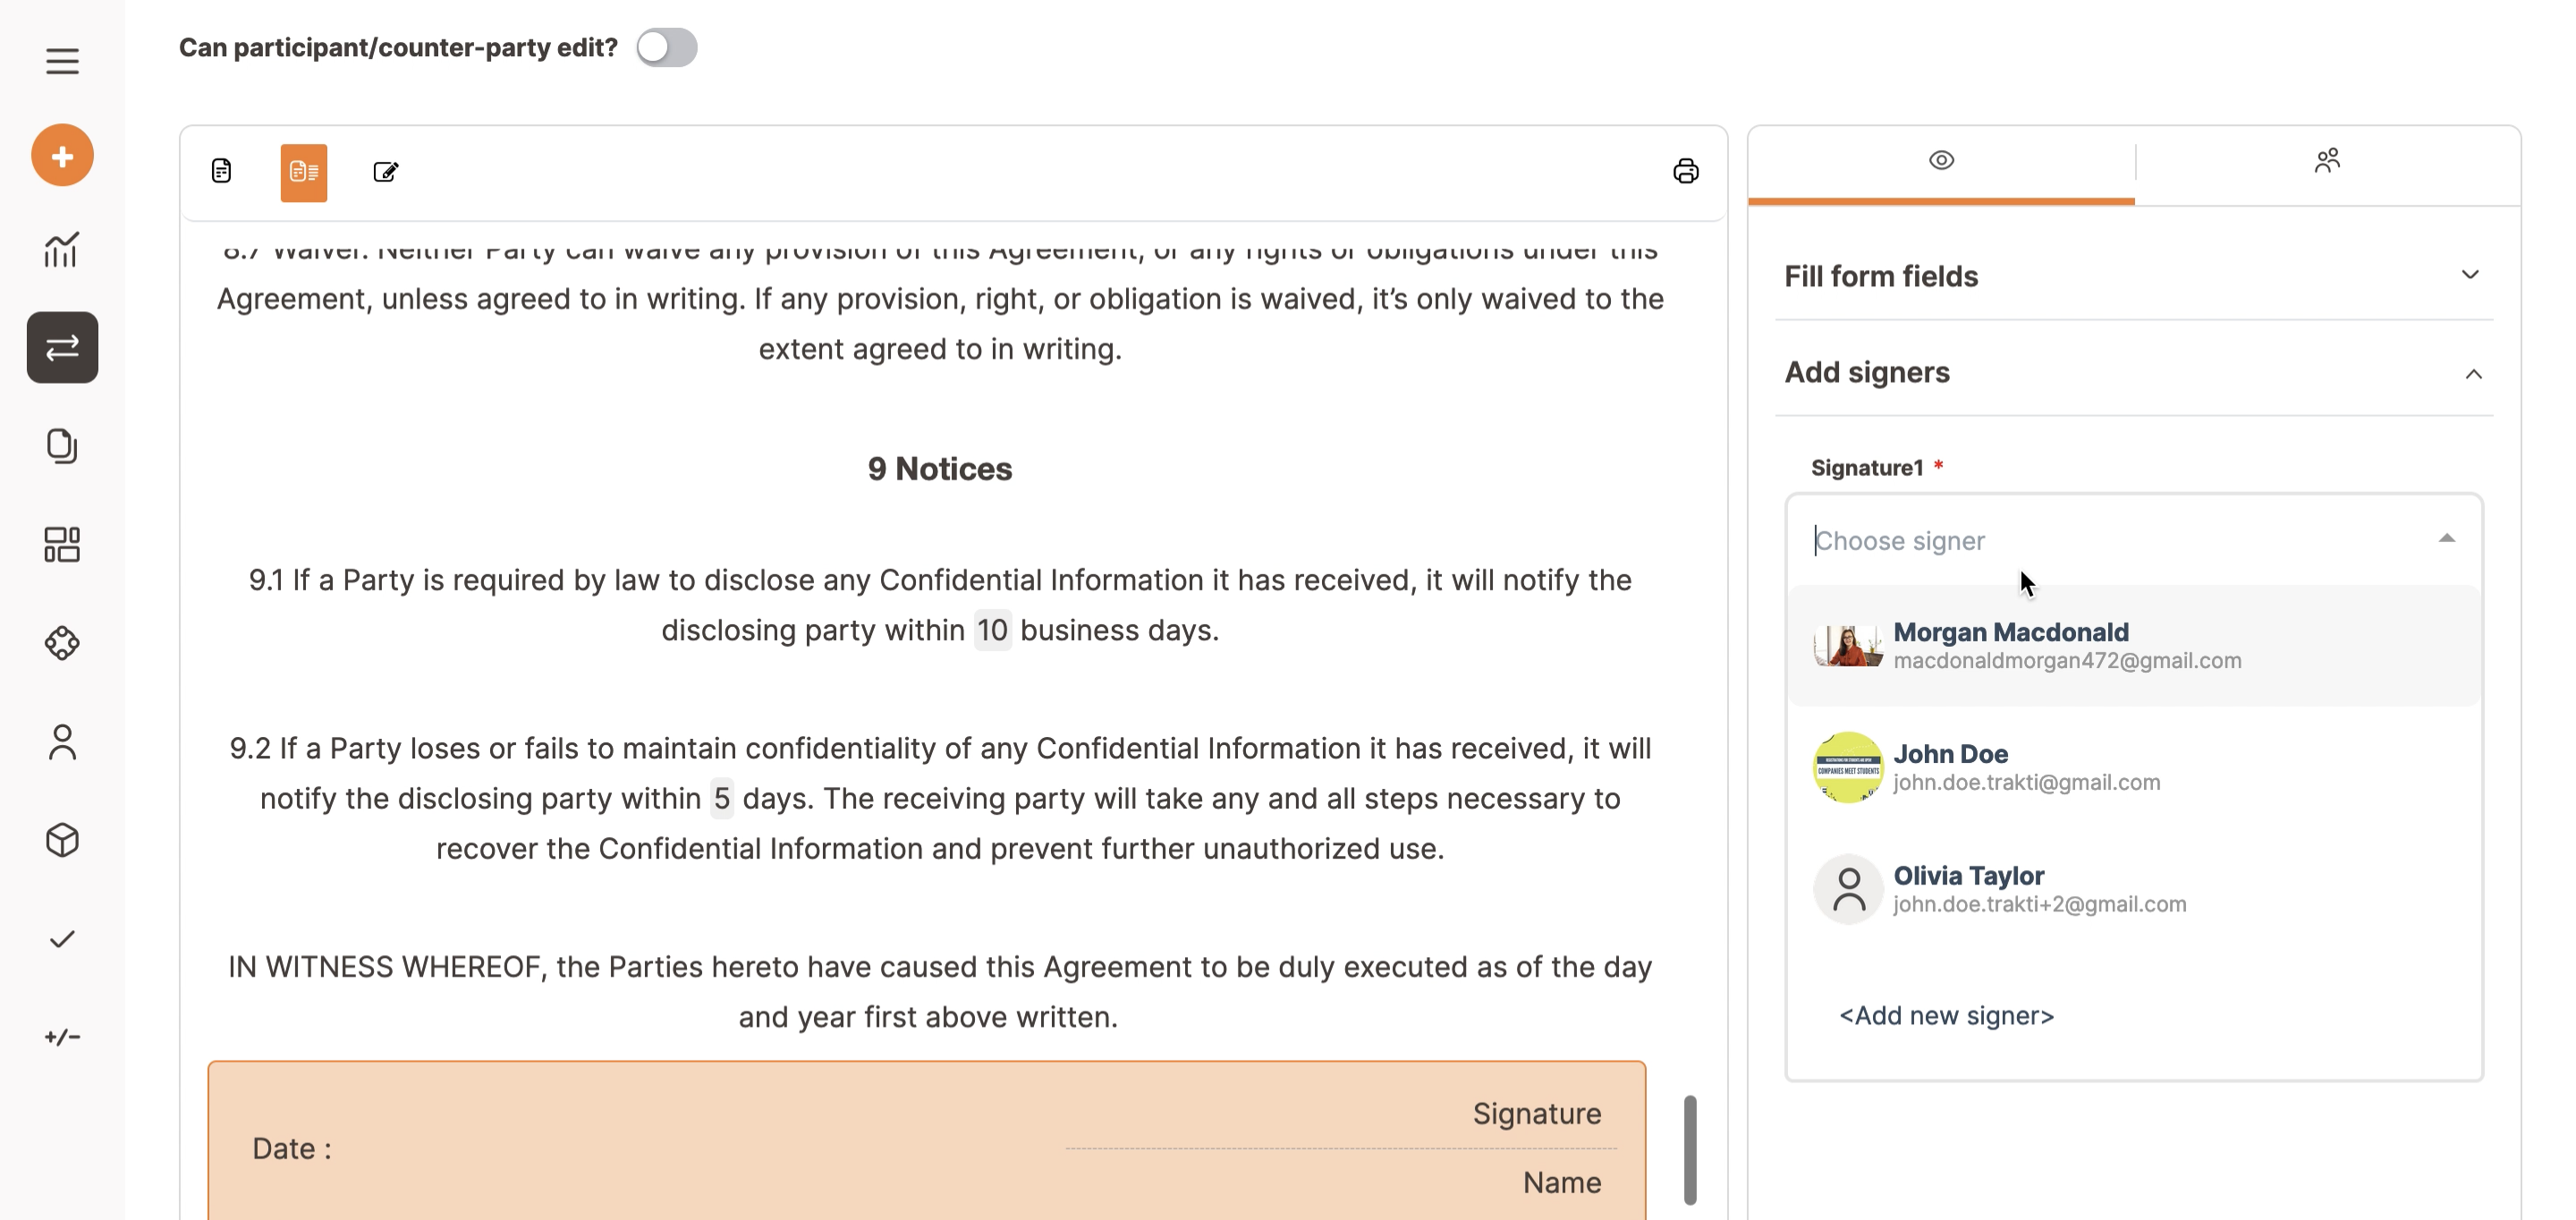
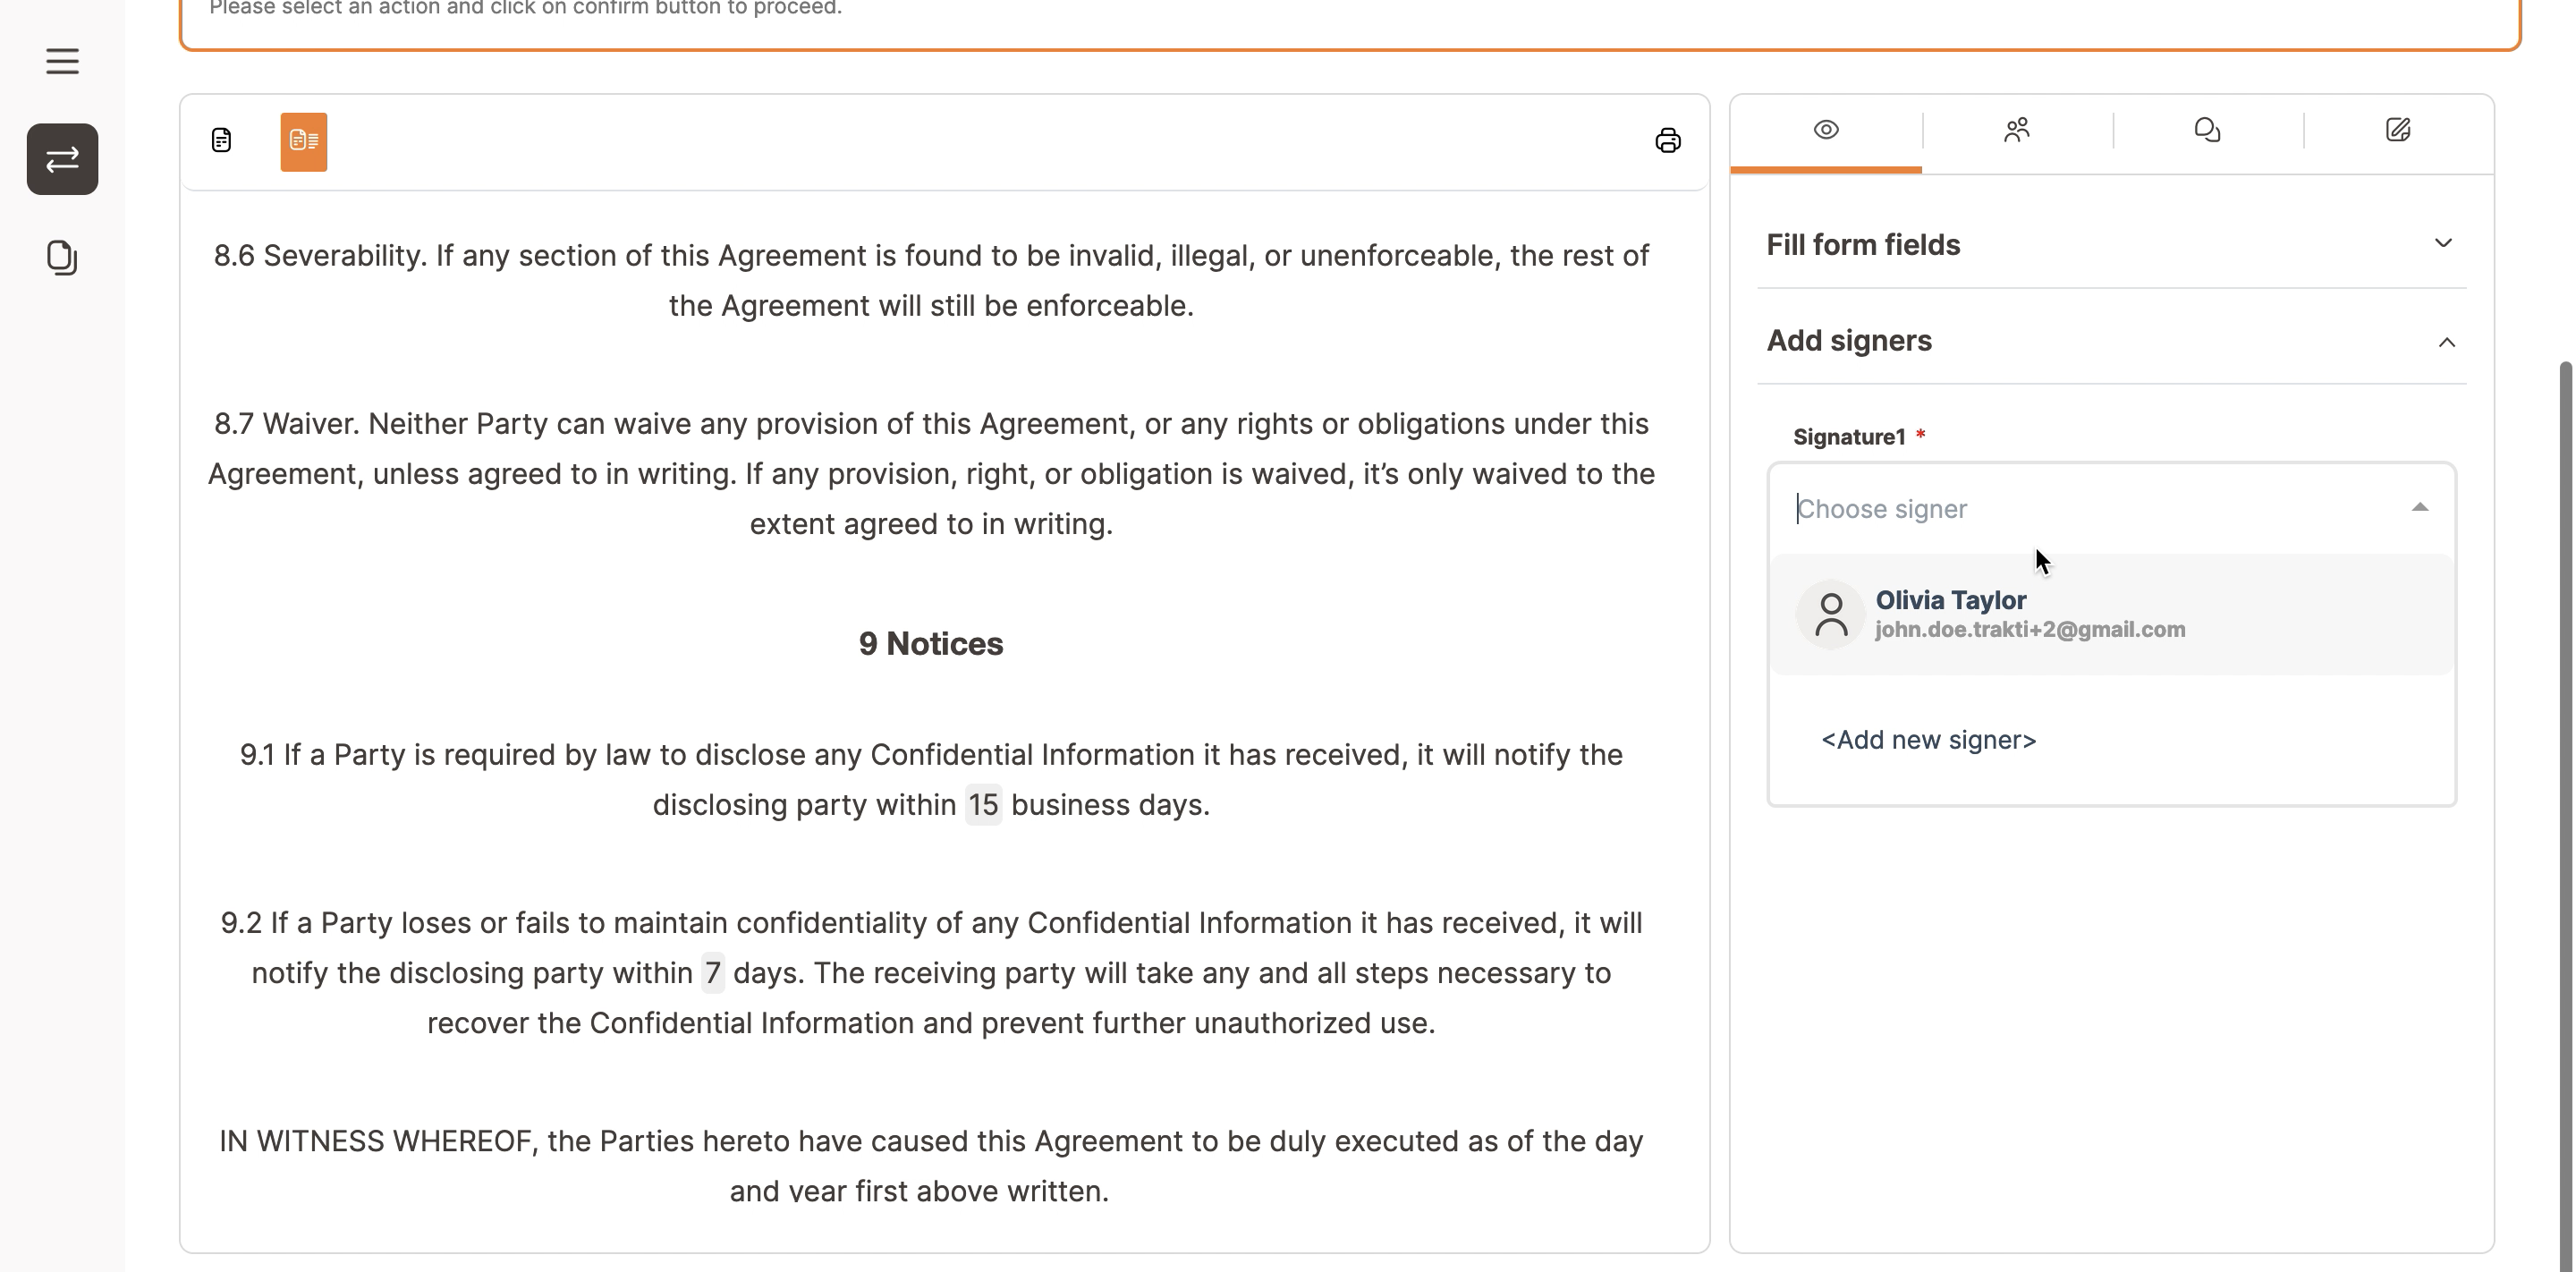
Before moving to the next step remember to click on ‘signatures’ and choose who will sign the agreement from your side. The signer can be changed at any phase.
When done click on Next.
The counterparty can add one of their own colleagues to review (the review function is not a collaborative editing function. It is for evaluating offers with ratings. Check this article for more info) and sign the contract themselves later on if required.
Now you can Publish your deal, Trakti will perform a completion check and will notify you in case of any missing fields or signatures.
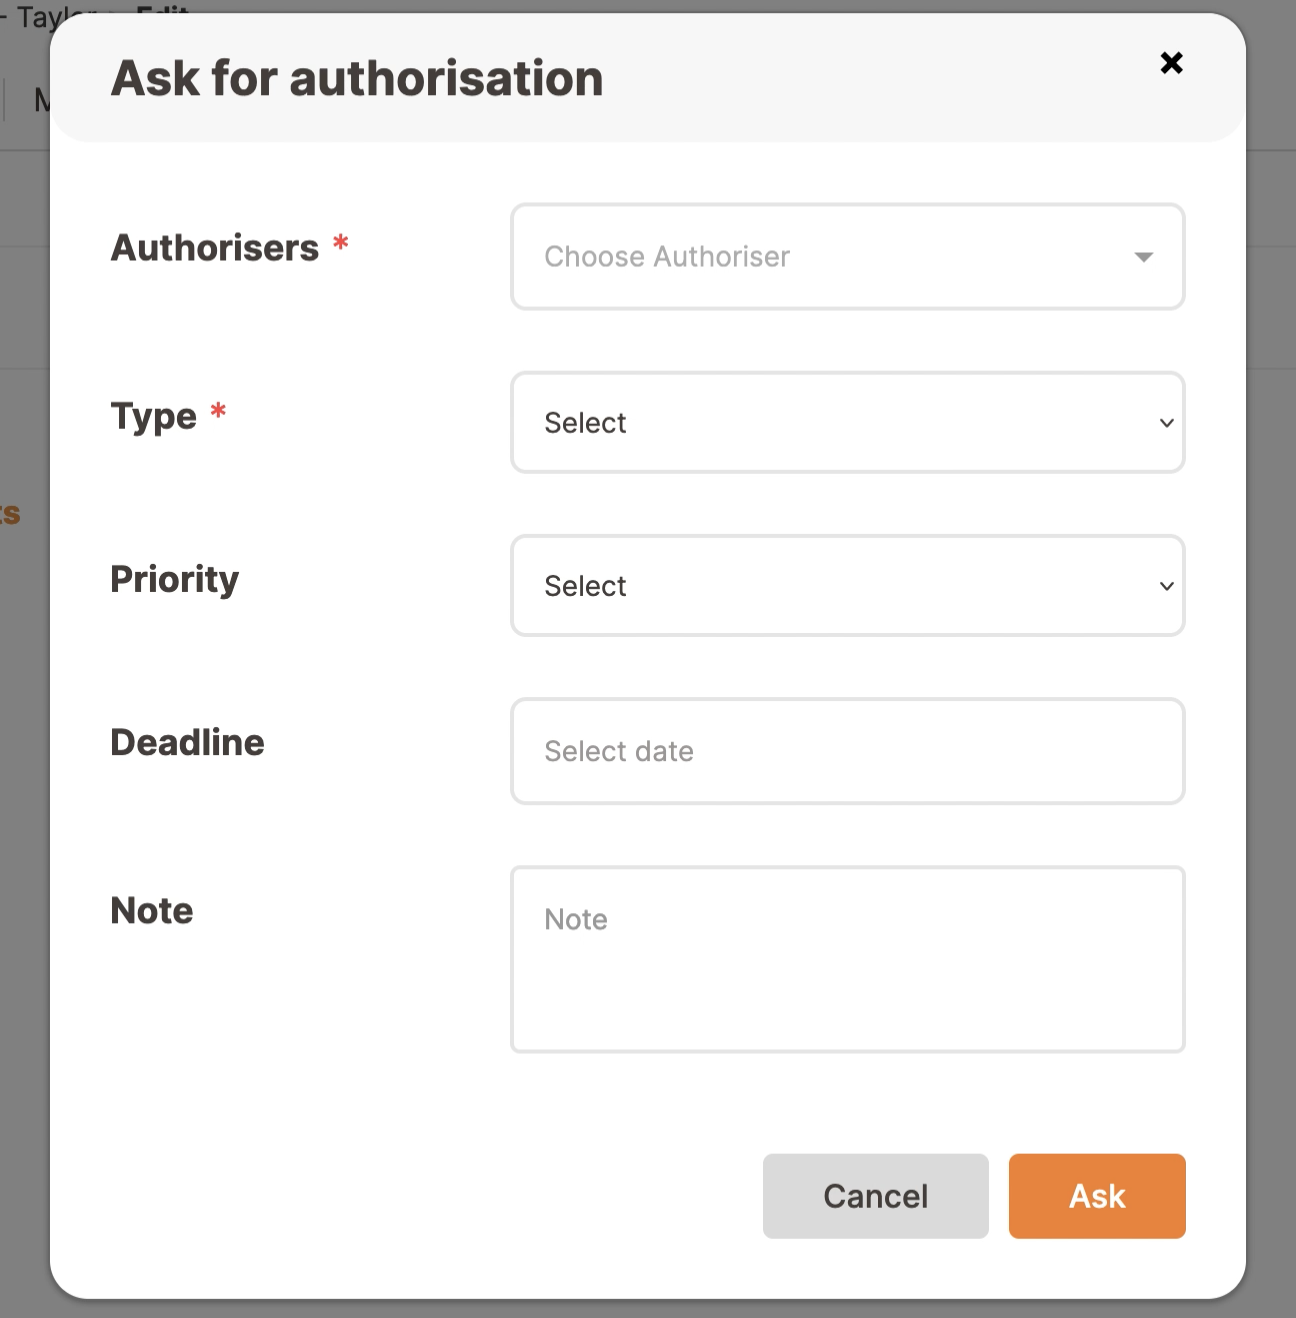
If you need the contract to be authorised by your supervisor, select the name in the ‘authorisers’ box and then select Ask.
If you are an Admin you do not require any authorisation.
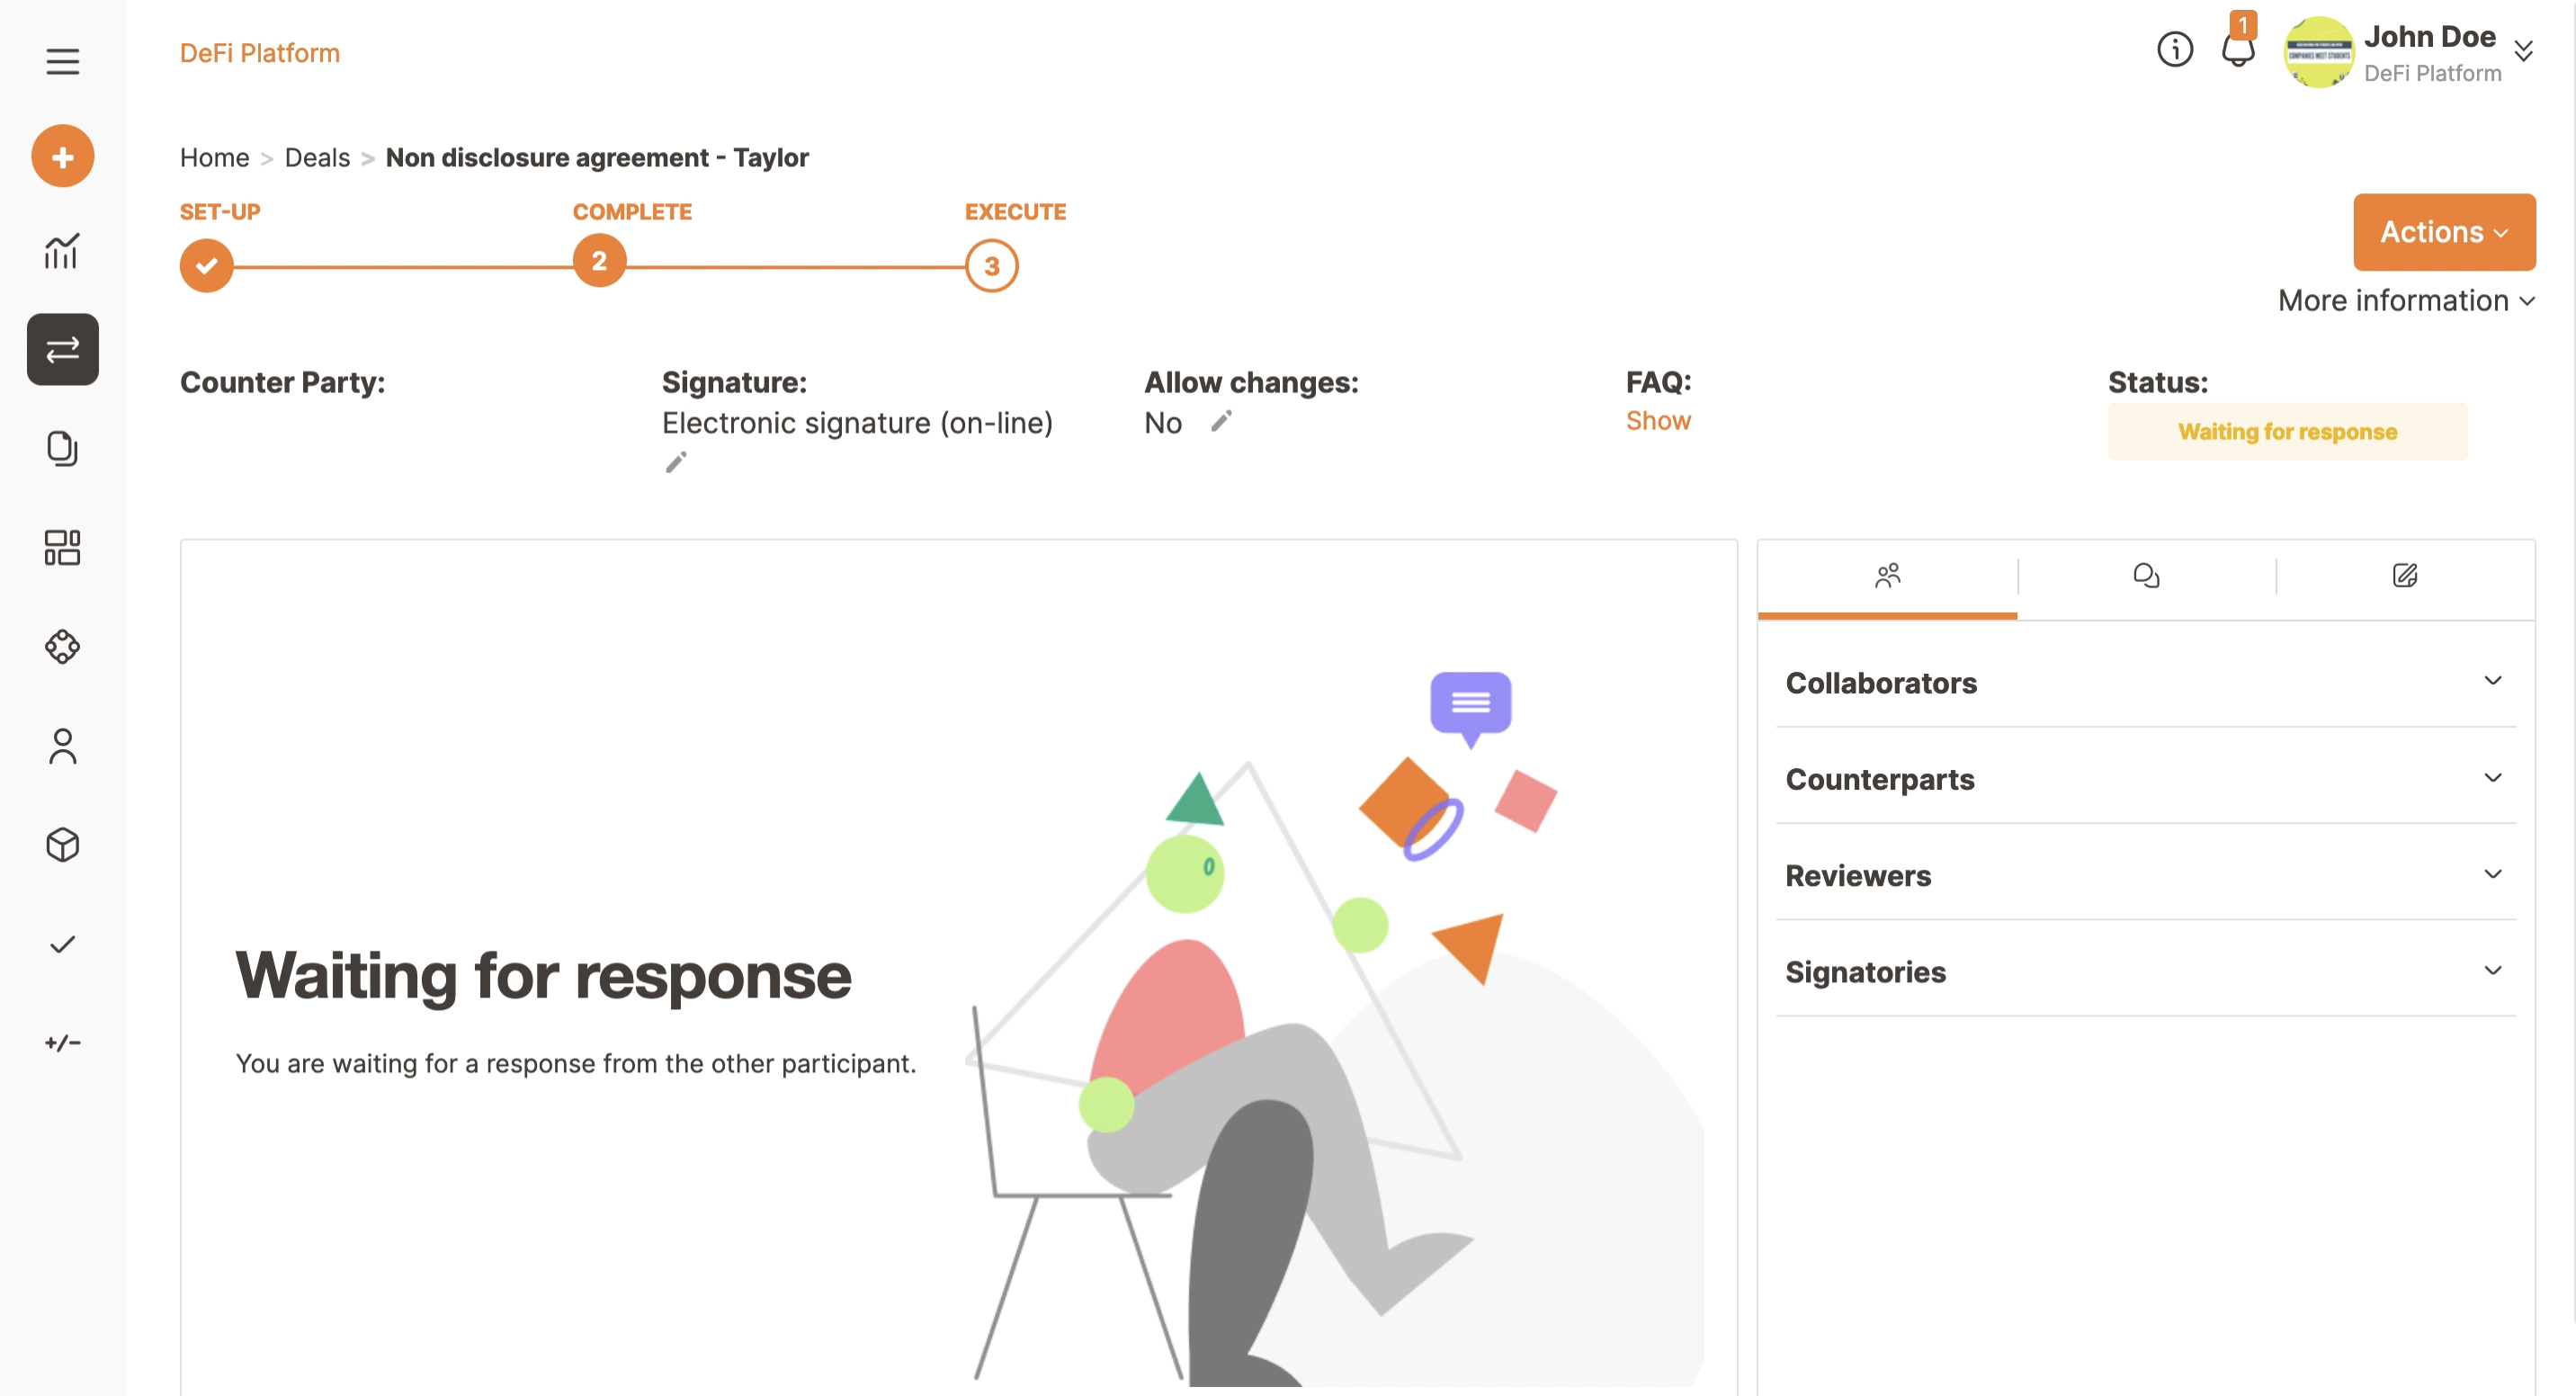
The counterparty/ies will receive an email from Trakti asking if they would like to join the deal.
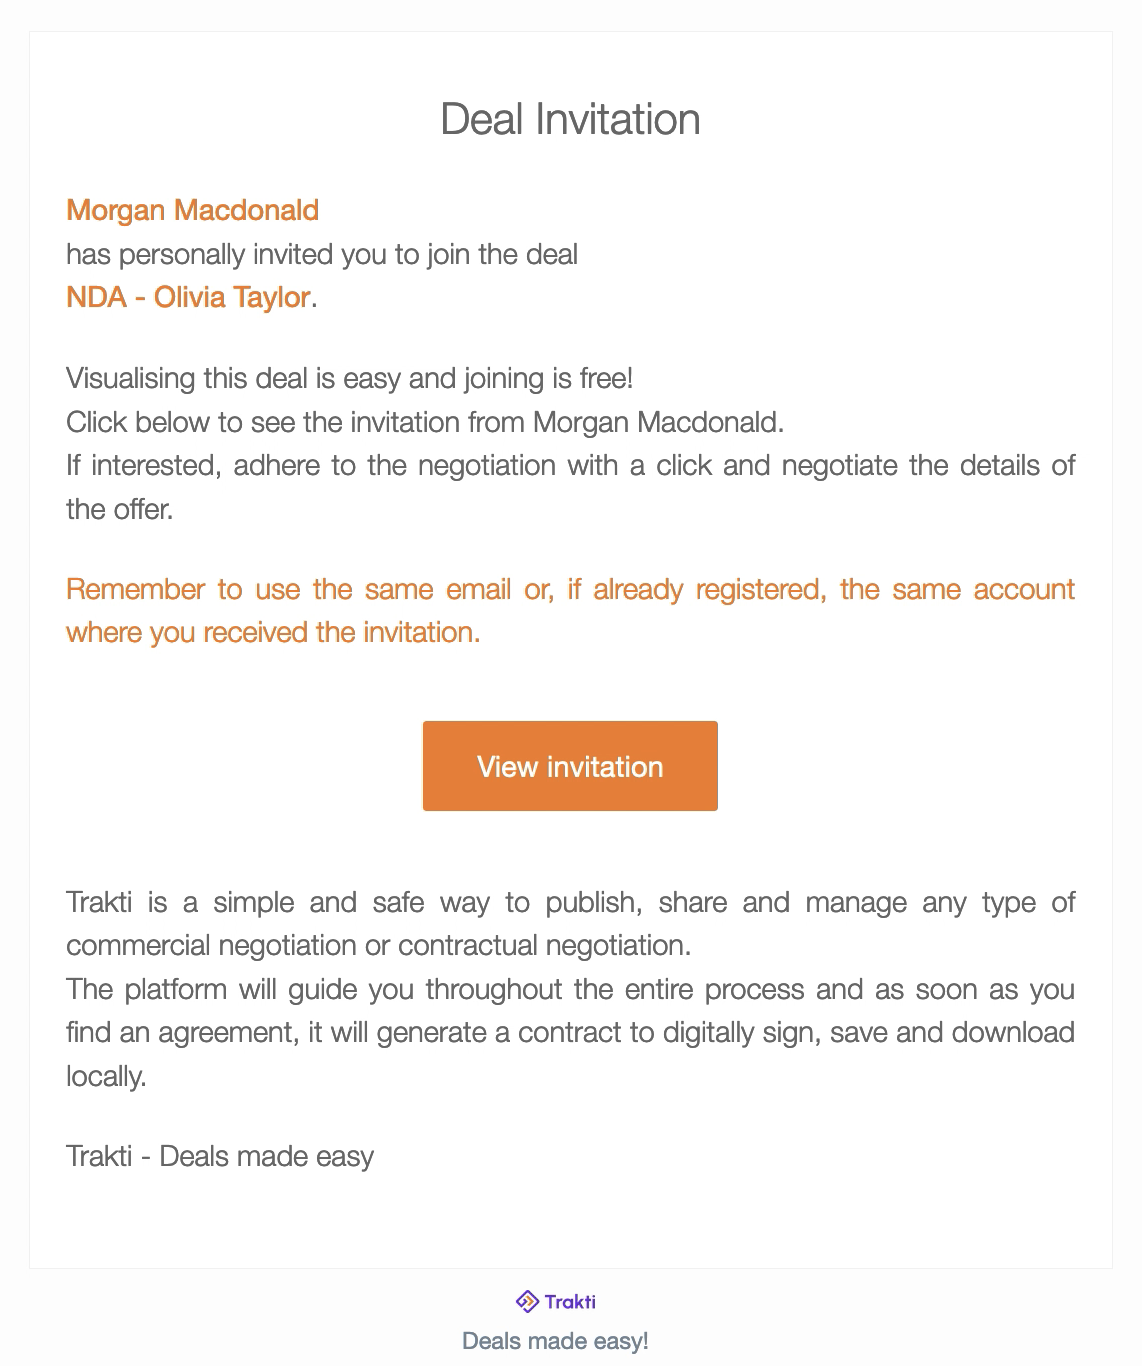
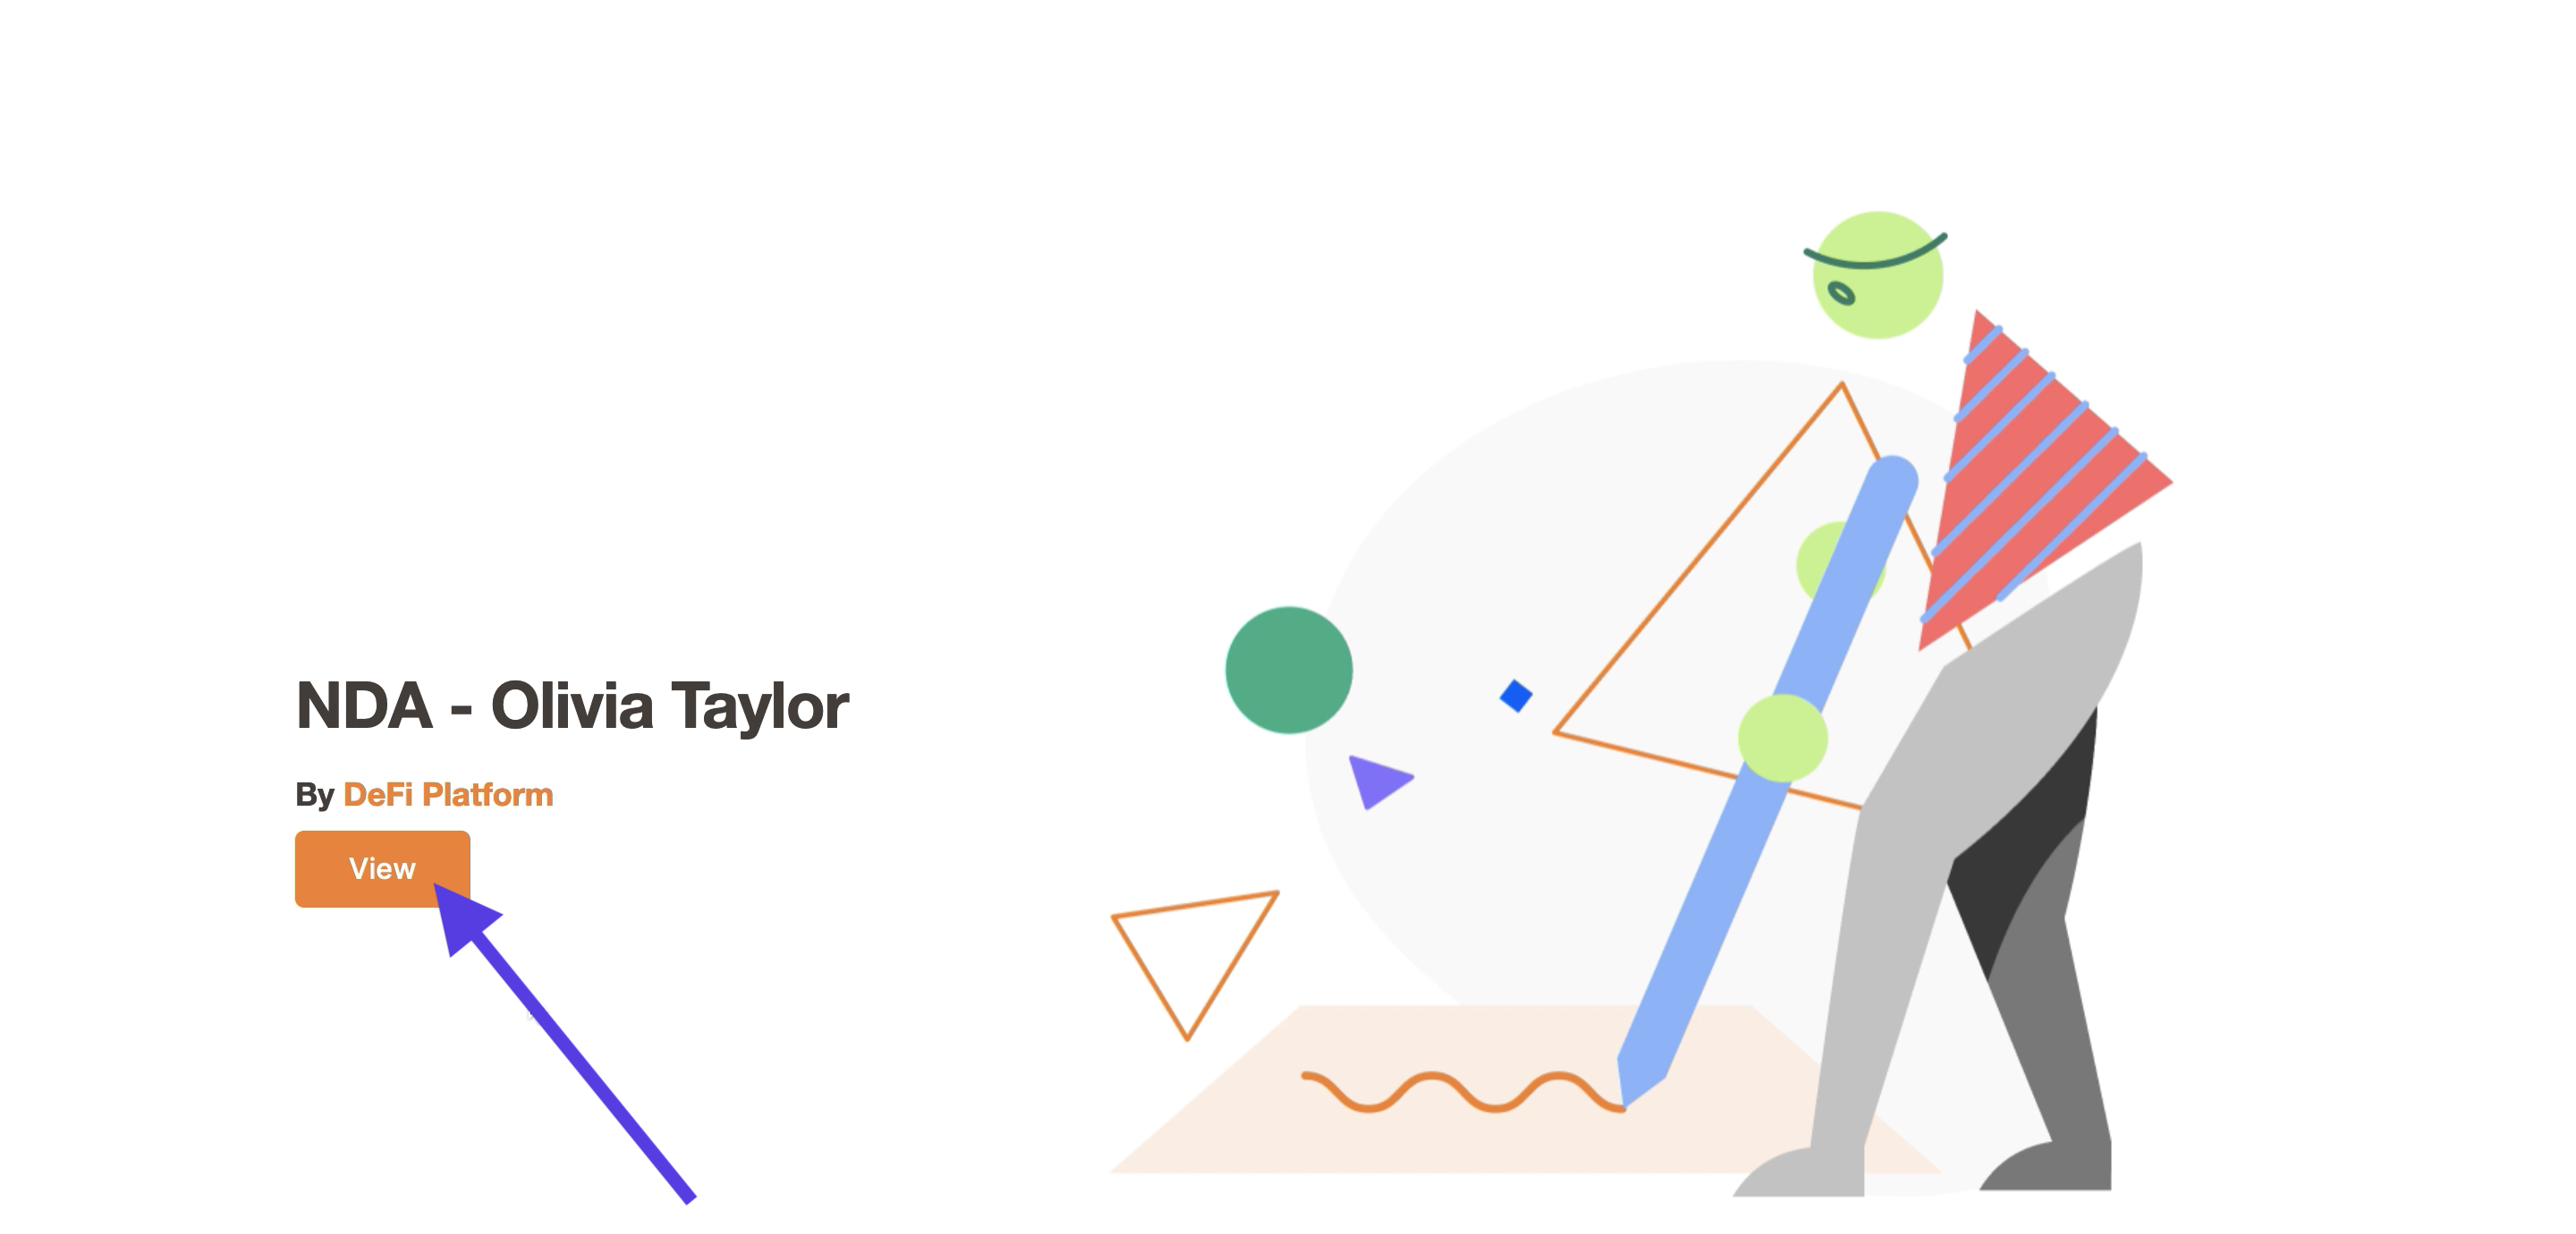
They will click on the View button.
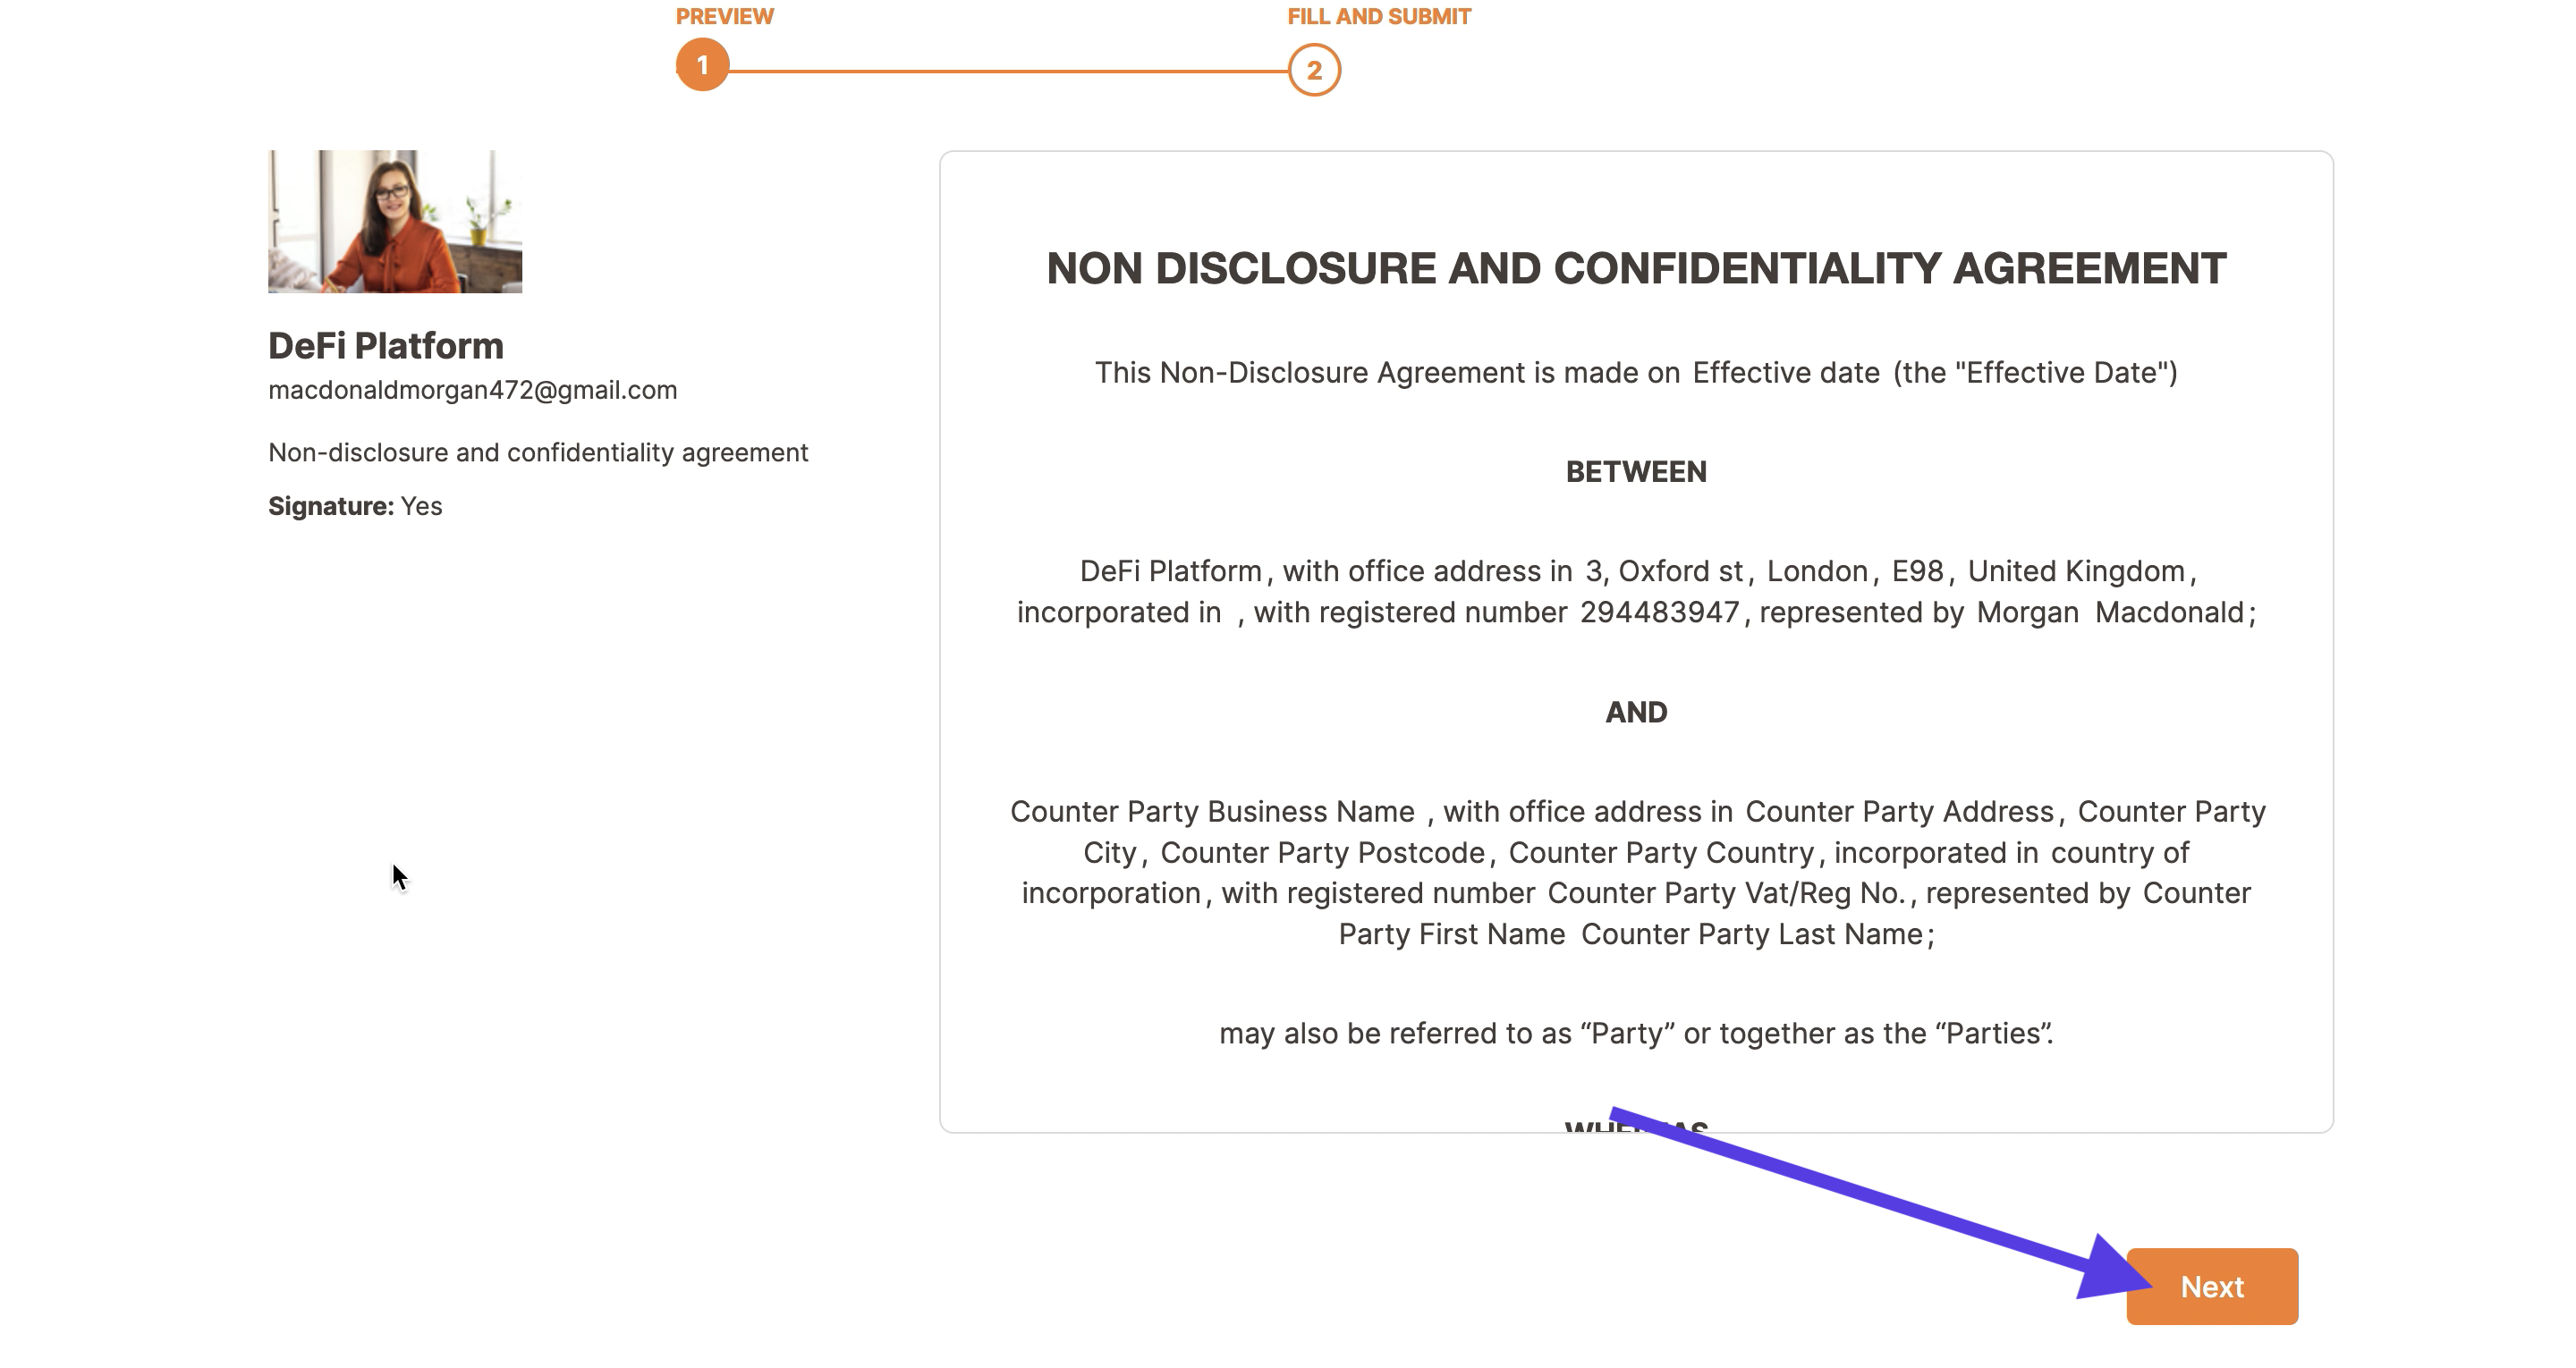
They will then see the contract preview, read it and click the Next button.
Once they have clicked Next they need to log in or register, you can read more about this process here.
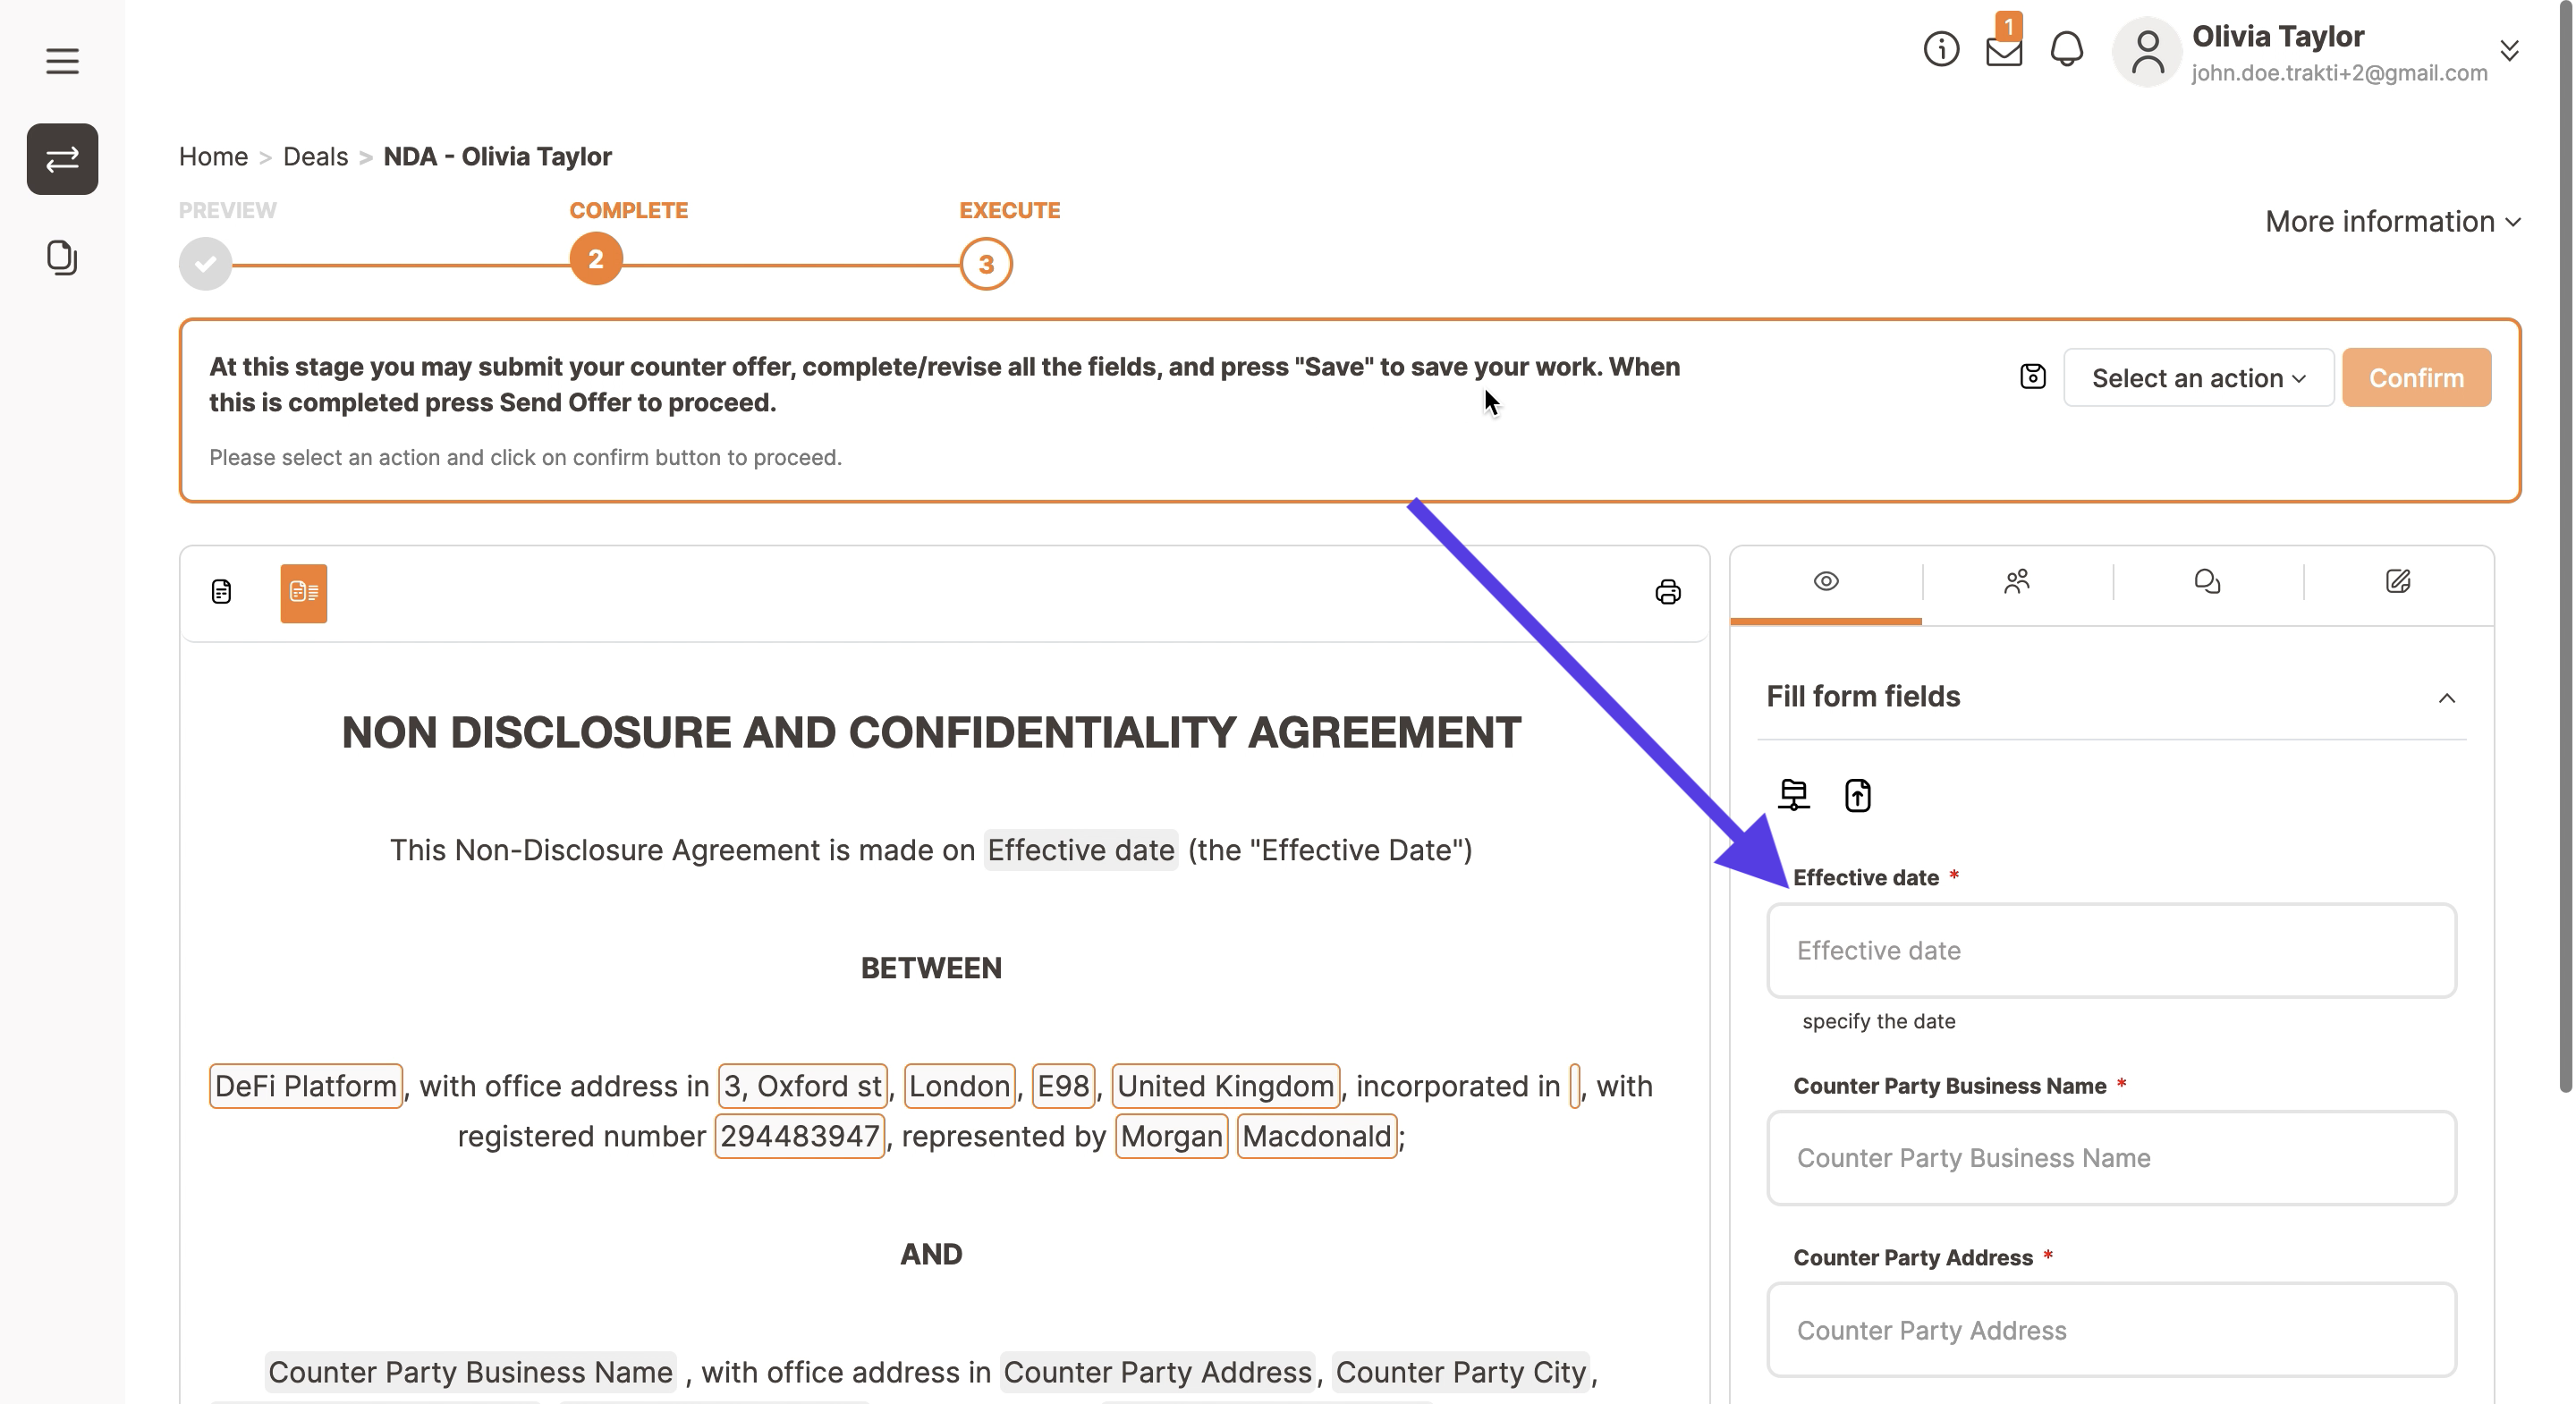
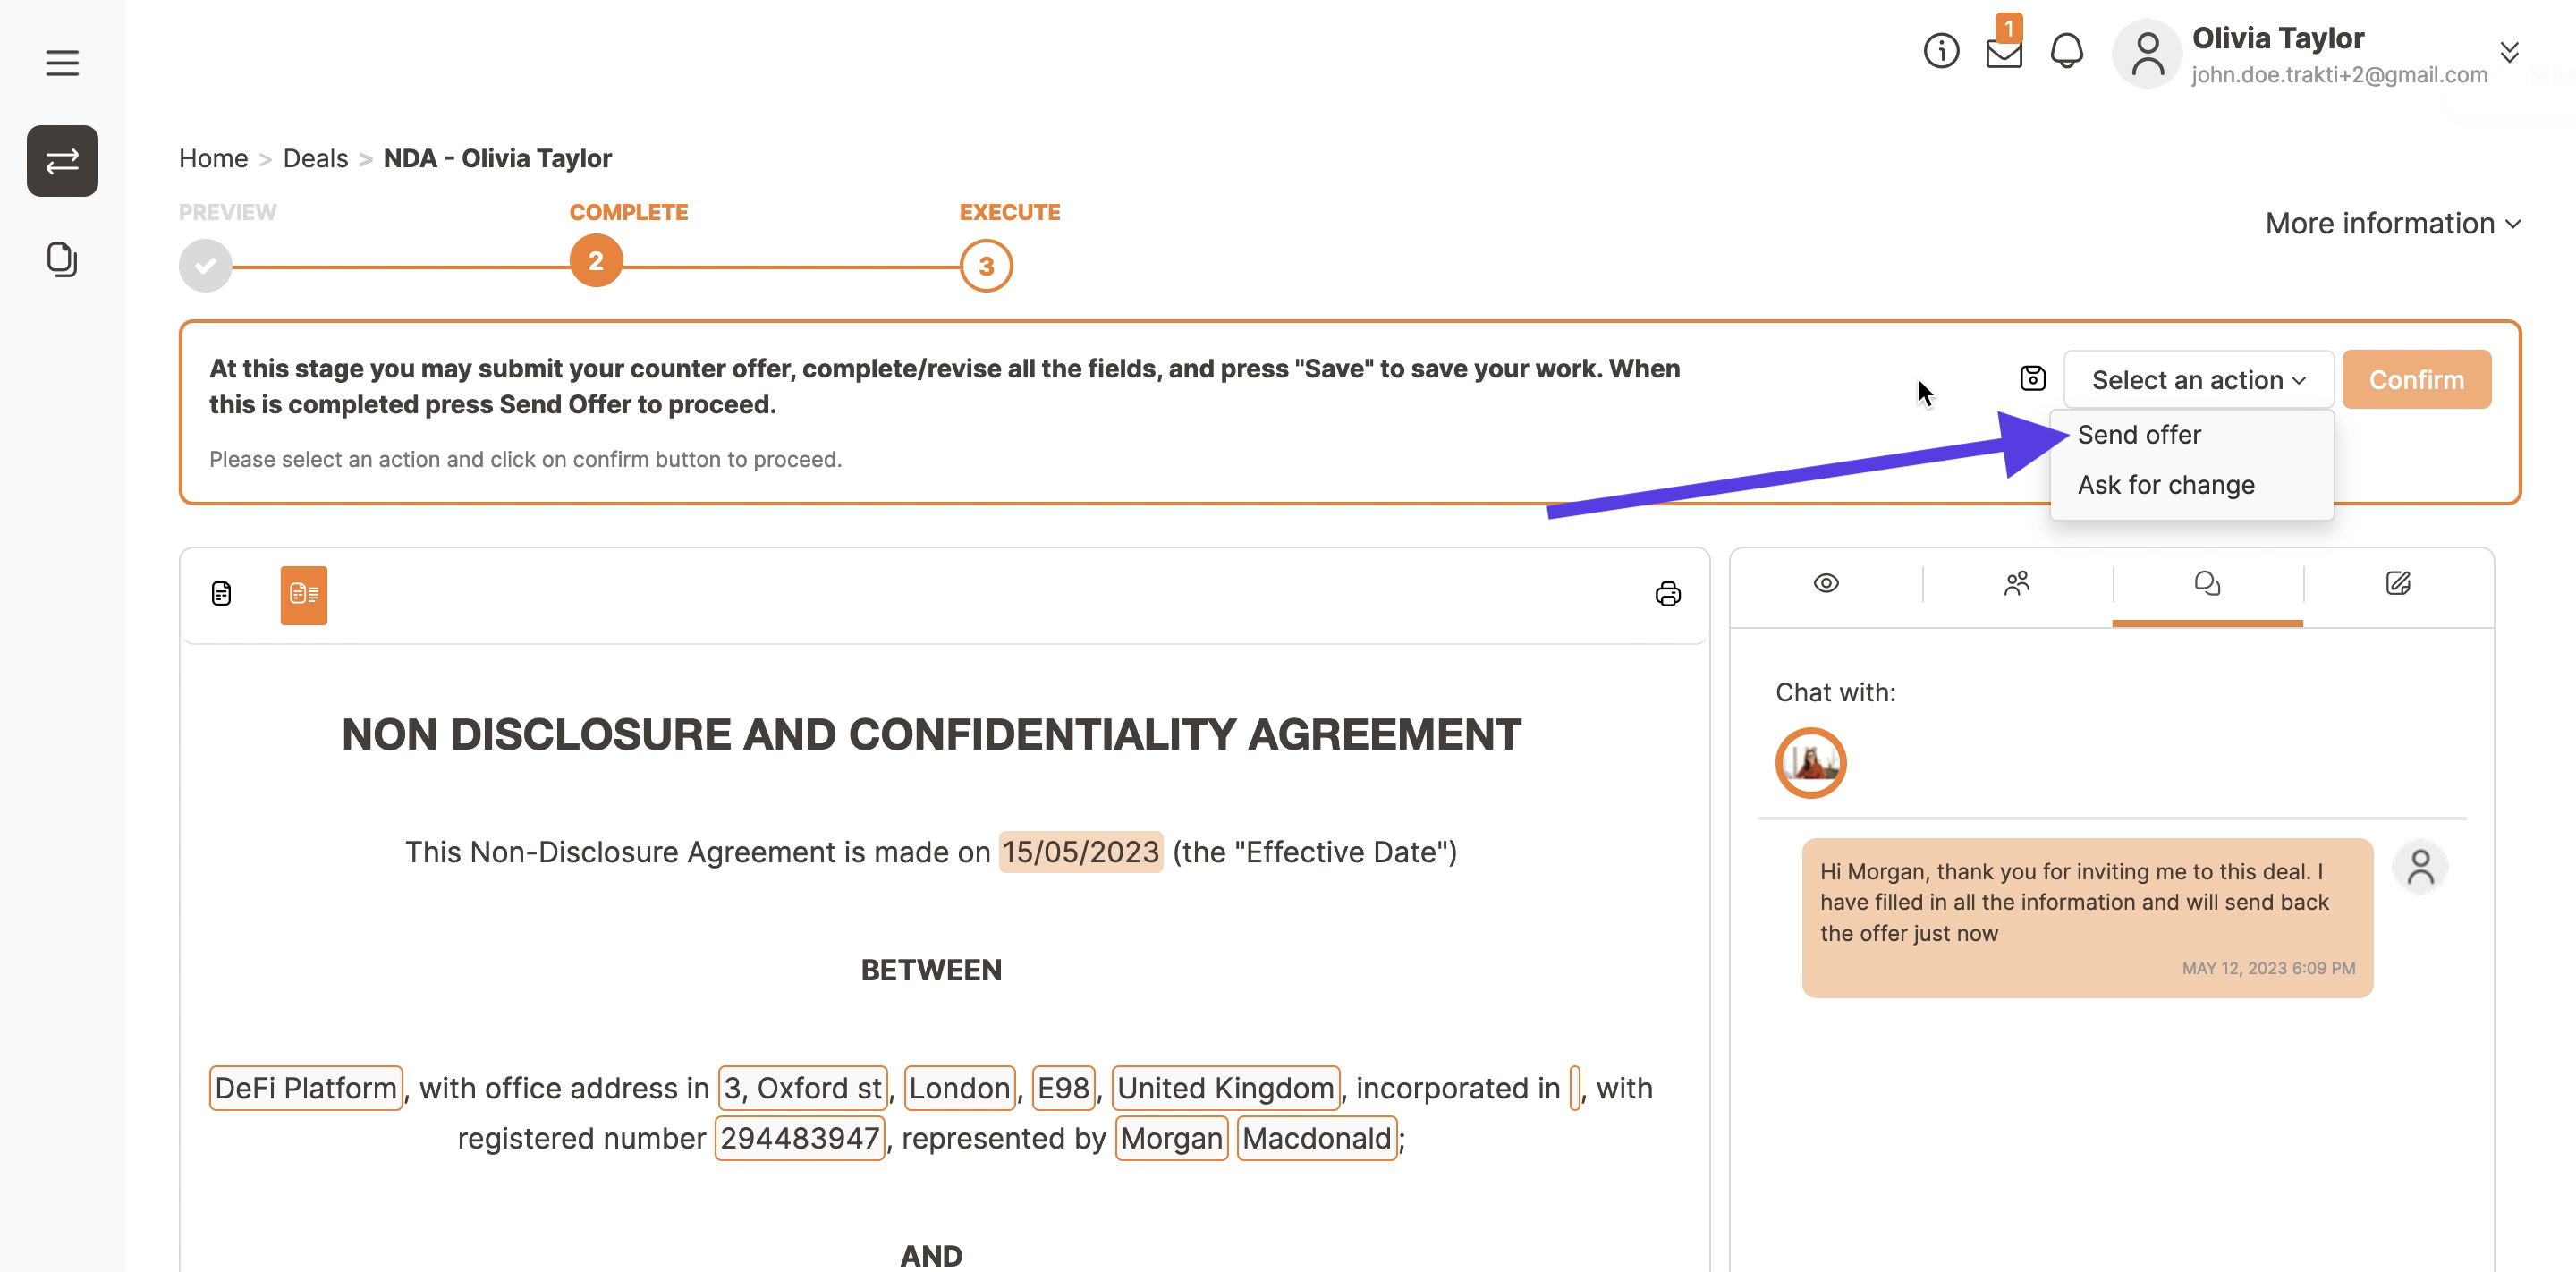
Once they have agreed with terms and conditions and clicked Continue they will need to fill in the contract with the information that is required from them. they will then have to specify who will sign the deal.
They can choose their name or the name of a team member from the dropdown menu, or they can add a new signer.
Specify the contact details of the signer and the email to be used and then click on Add Signer.
Now they can press on the Send offer button at the top right of the dropdown men.
They are now part of the deal and can interact with you. If you have a multi party deal in place like Action, or RFQ all counterparties will have to follow the same process.