Contract lifecycle activation in a contract model

Dennis
Last Update a month ago
This option is available for contract models that you are creating and for deals that have already been published or imported.
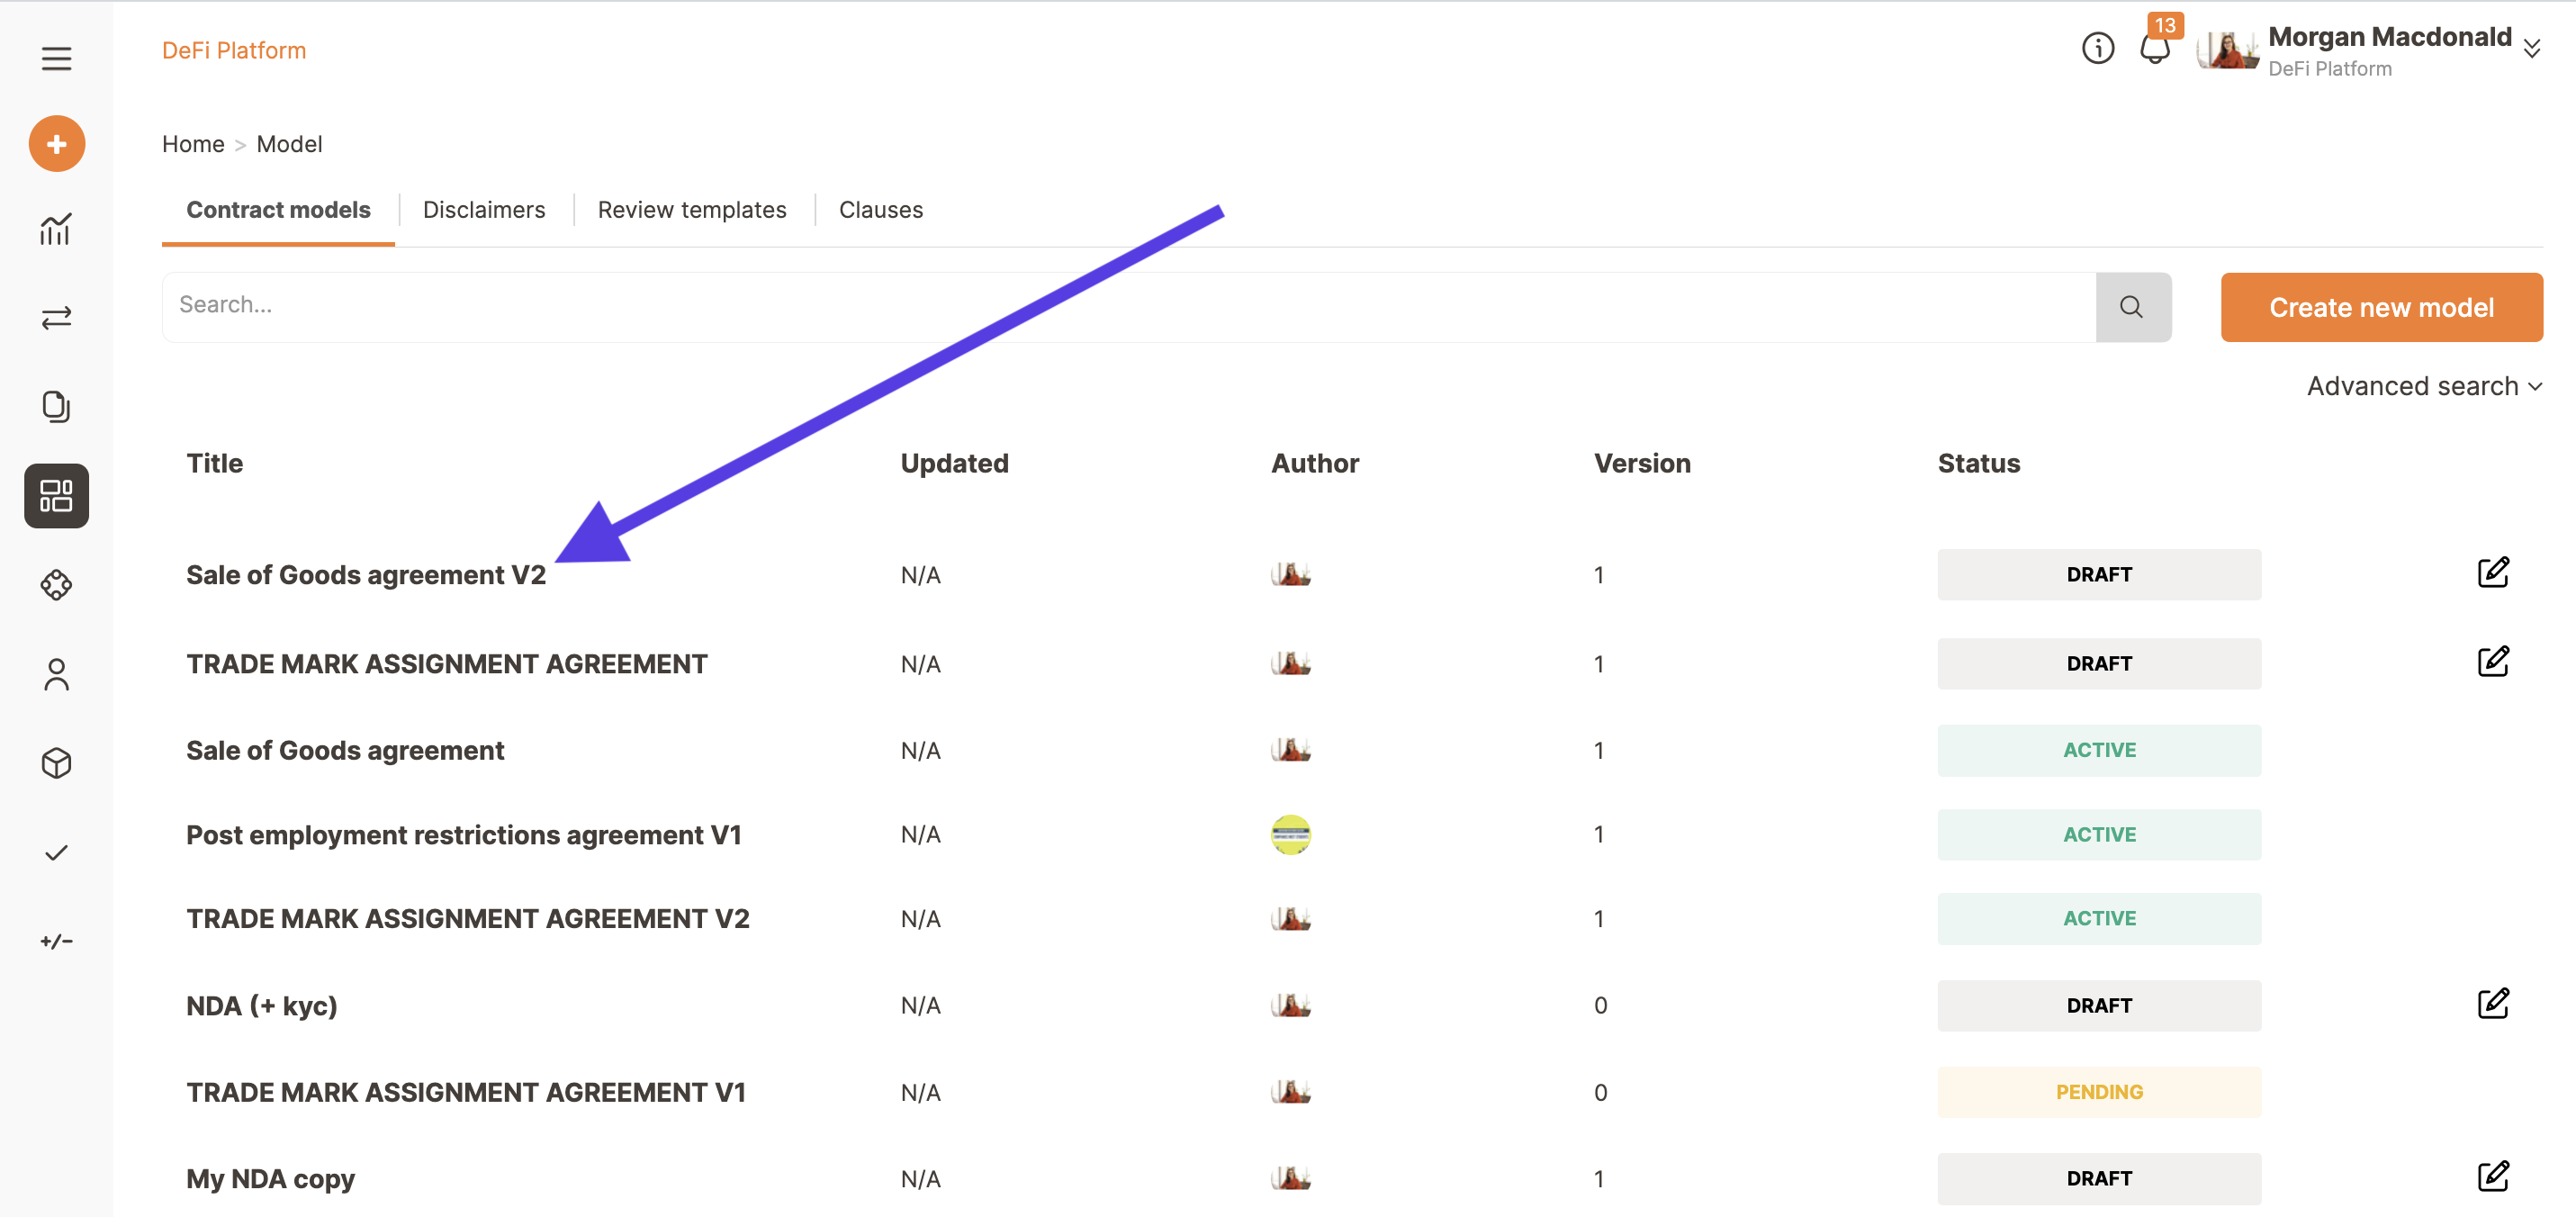
To access this option for a contract model you are creating click on Models.
Find the contract model you want to add the lifecycle function to and click on the Edit button on the far right. You can also create a new model.
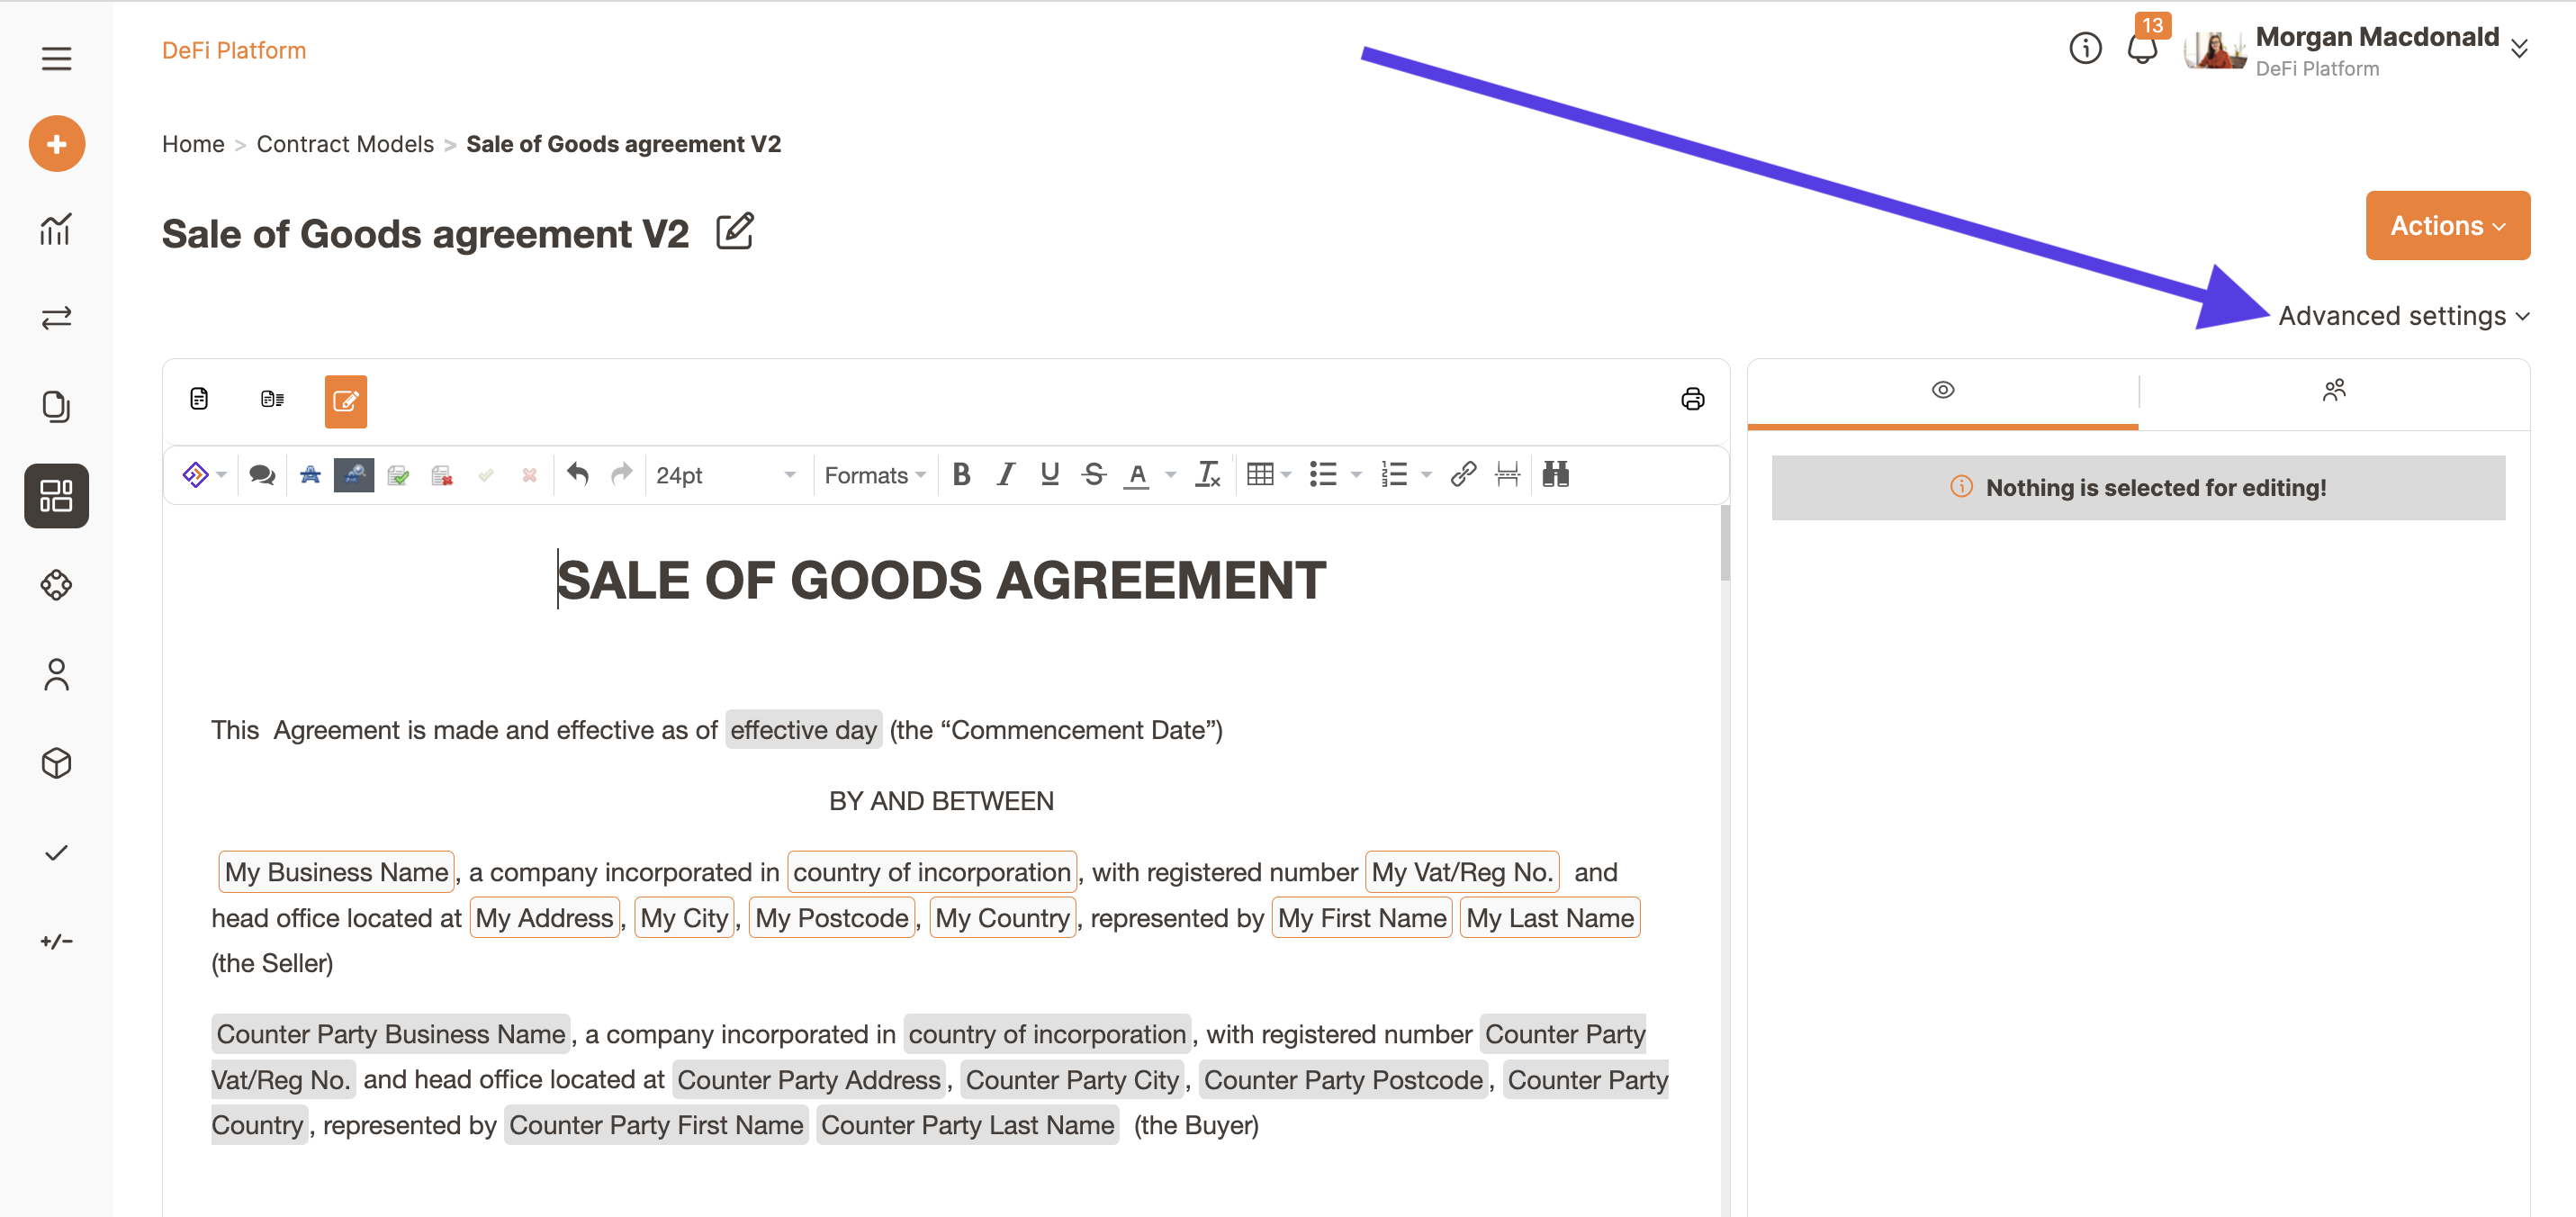
Then click on Advanced settings.
You can now start configuring the contract lifecycle.
To use this feature, make sure your template includes all the necessary variables you wish to automate.
The page will appear as follows.
Now you can start setting up your contract lifecycle.
In order to use this functionality, make sure your template has all the necessary variables you want to automate.
This is what the page looks like.

In the General tab, you can define and edit some details of your contract.


In the Renewals tab, you can define whether your contract is renewable by enabling the toggle switch and then configure the renewal details.

You can choose the variable label, but we recommend calling it “start date” or “effective date” or “commencement date” in order to make it clear to the counterparty.
Before selecting the variables that will represent dates, add them in your contract (if you have not already done so).
This ensures that, once you or the counterparty complete these fields, the contract lifecycle will be triggered automatically.
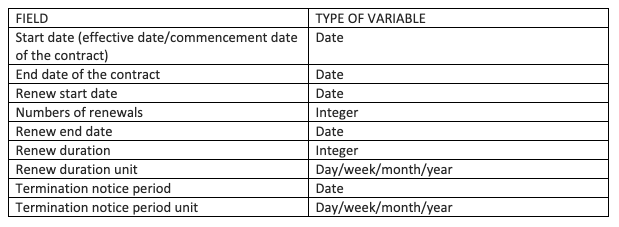
Here below a table to show the type of variable (date or integer) you can use
Once you have written your clause with the variables, click on Advanced setting on the right and fill out the fields.
Remember to click on the bottom Save draft on the right and eventually refresh the page.